Branches
So far, we've only worked with the master (or main) branch. However, when working on different parts of an app simultaneously, whether in a team or solo, it's recommended to create a branch for each task. Once the task is complete, we can merge all the changes from this branch into master.
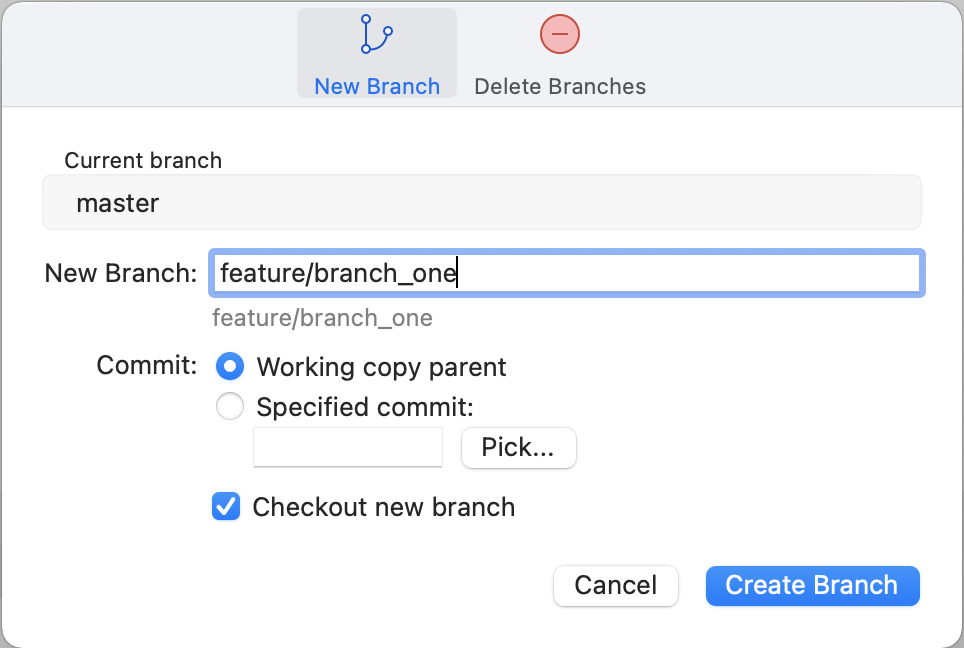
To create a branch from master, we just need to click on the Branch option and give it a name.
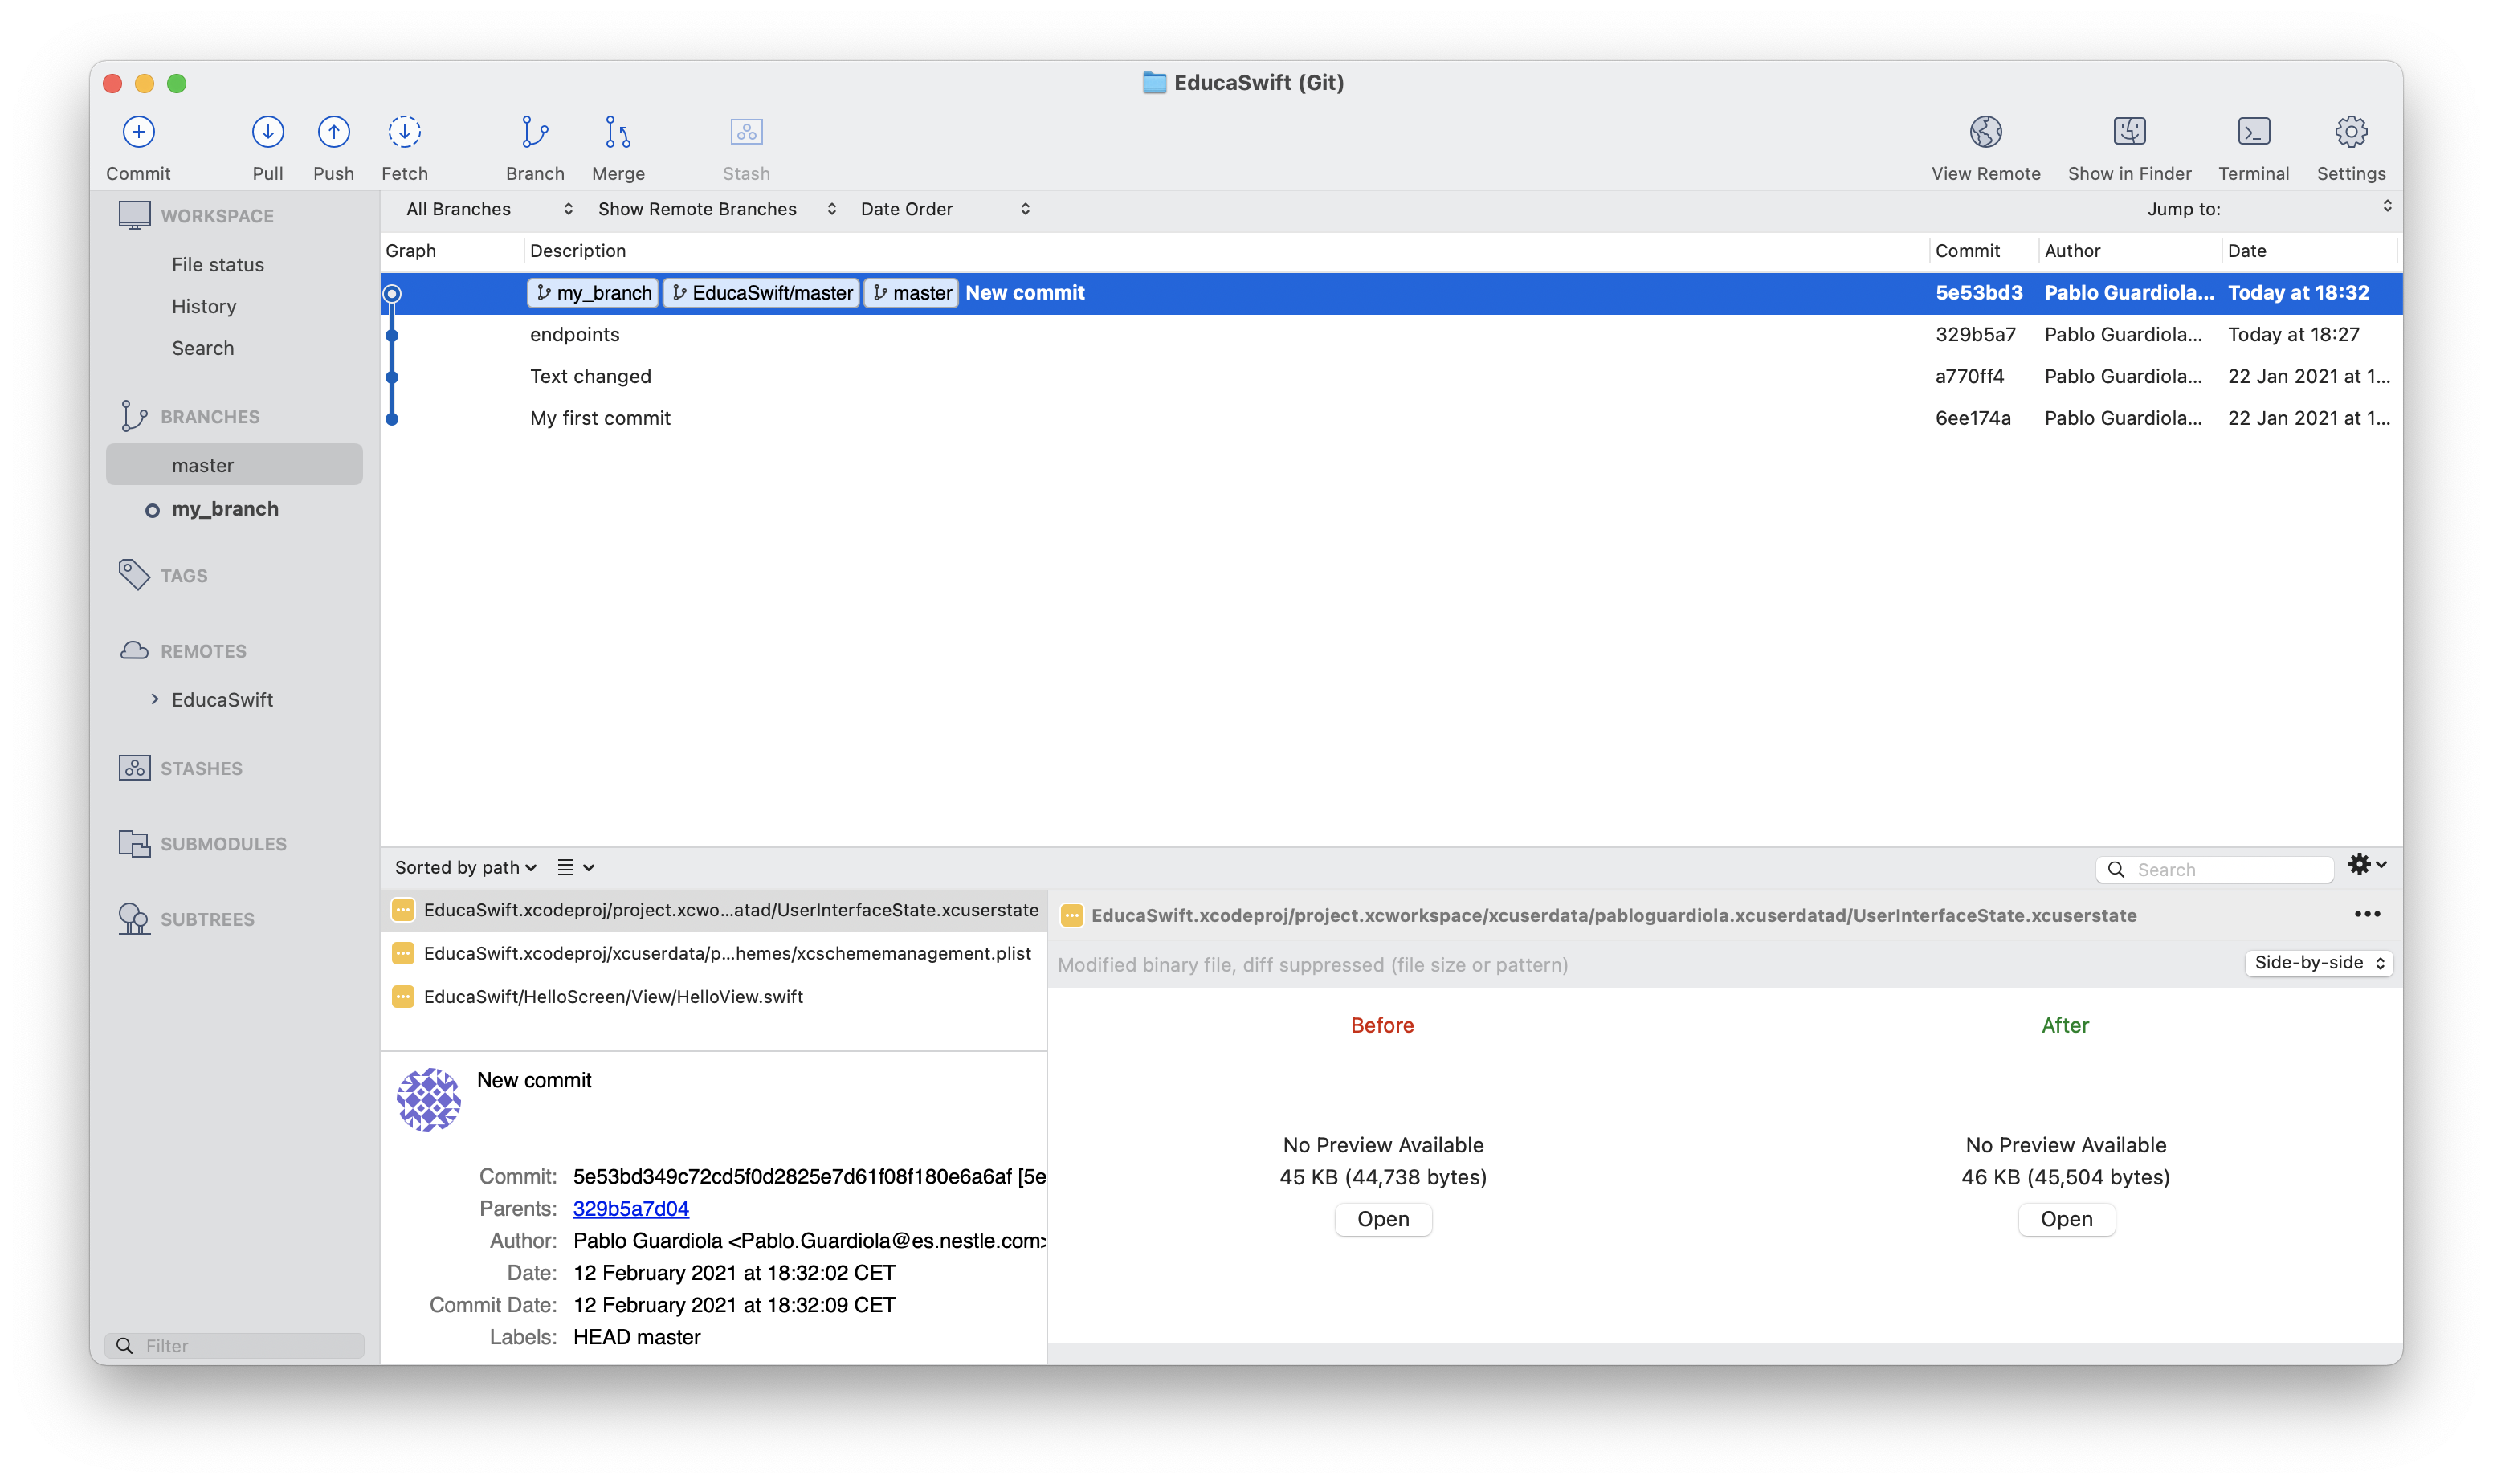
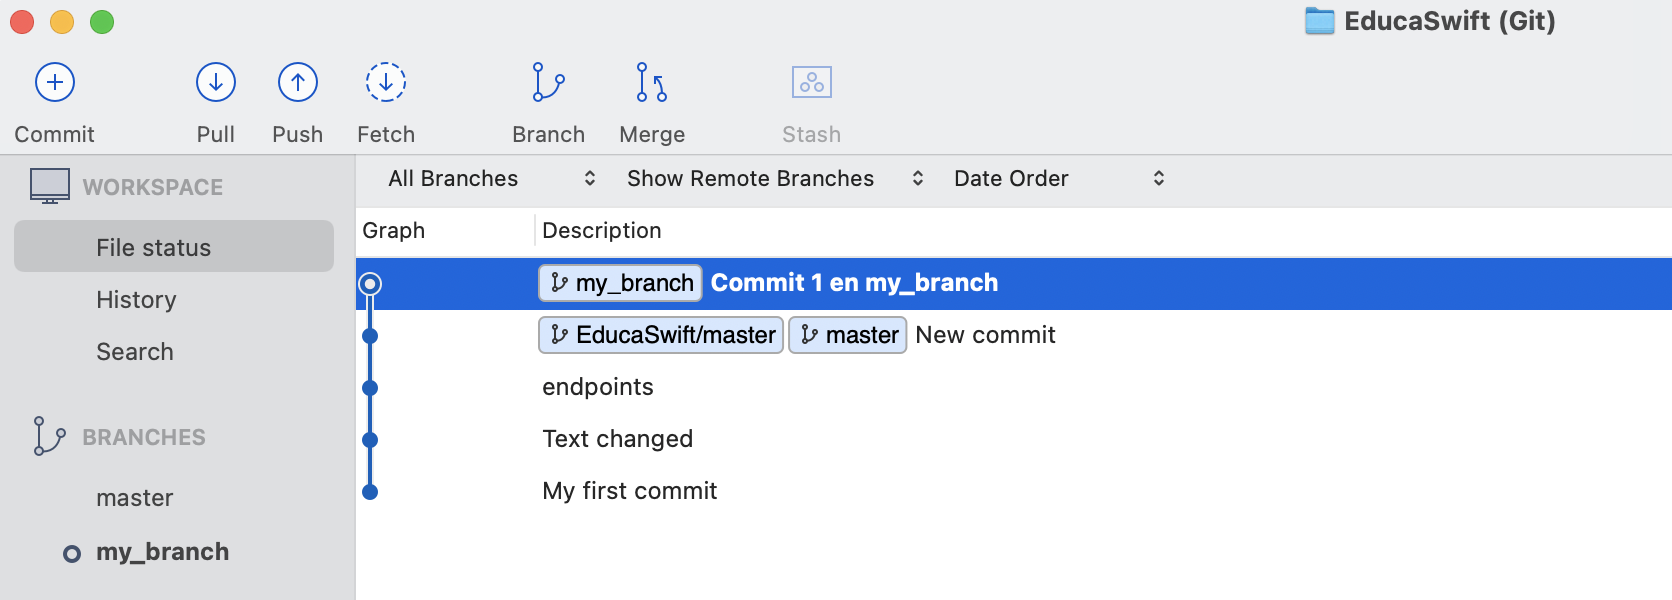
Once the branch is created, it may seem like nothing has changed. This is because our new branch contains the same code as master, since it branches off from it. Therefore, the most recent commit, besides being present in the master branch, will also be in our new branch my_branch.
Switching the active branch
As you can see, once we've created our branch, it becomes bold, indicating that if we make a commit, it will be created on this branch and not on master.
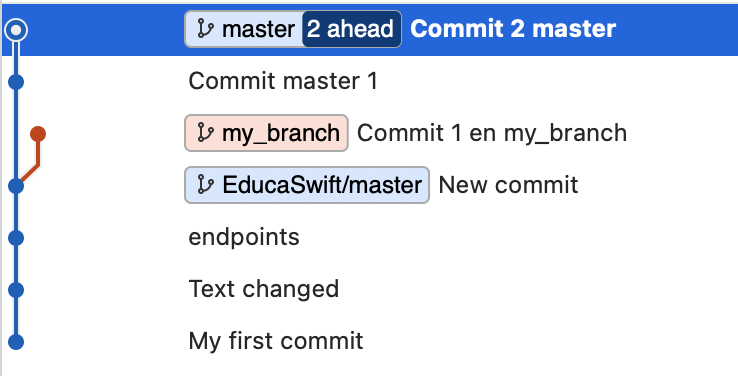
To return to making commits in master, we can double-click on its name to "switch" to that branch, this process is called checkout. Once we switch back to master, if we make a commit, we can see how the two branches diverge.
Merge
Once we’ve finished our work on our branch (this could be creating a new feature or fixing a bug) and everything is commited, we can perform a merge, which means incorporating the code from my_branch into master.
To do this, the active branch must be master. Click the Merge icon, which is next to the Branch icon that we used earlier. Select the most recent commit from the my_branch and click OK.
The result is a new commit in master where the code from my_branch is included.
Branch hierarchy
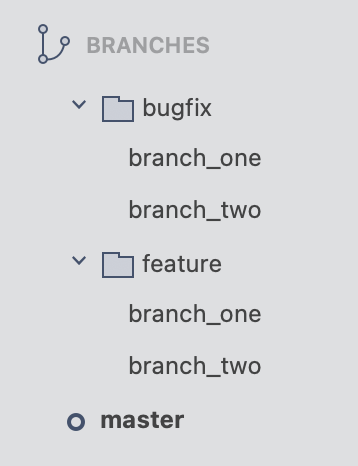
In a large project with many branches, it’s a good idea to create a structure to keep branches organized. To do this, we simply need to name the branch in a way that makes sense, followed by a slash.
Doing this allows us to organize our branches as if they were in folders.


Be the first to comment