What is Git, and what is it used for?
Git is a version control system, which means that we can "save" our project state after every change we make, allowing us to later revert to a previous version if needed. This way, we have access to code we've already deleted, whether by accident or because we no longer needed it.
How Git works
The first step is to create a Repository, which is just a container where our project will reside, then Git will automatically detect our changes. However, we are the ones responsible for "saving" these changes in our repository, something we can easily do with software or the terminal.
The big advantage of Git is that it can be configured both locally (on our Mac) and online, allowing an entire team to use the same repository. With the tools provided by Git, different team members can add their new code to the project without conflicts, and if done correctly, it will work automatically without us having to worry about it.
In this article we'll focus on how to use it locally, so we can recover our changes in case of an "accident".
The software
Git is a cross-platform system and is typically used with the terminal or command line. But in my opinion it's worth it to use any of the softwares available for free that makes working with Git more visual, instead of having to remember every single command. In EducaSwift we use SourceTree.
You can download and install SourceTree from here.
Creating a Repository in our project
Once we have SourceTree installed and a Xcode project created, let's see how we can create a Git repository.
Open SourceTree and click on File -> New. In the panel that opens (if it's not already open), select New -> Create Local Repository.
Select the root folder of your Xcode project and click Create.
Once created, it should appear in the repository list, and you can open it by double-clicking on it.
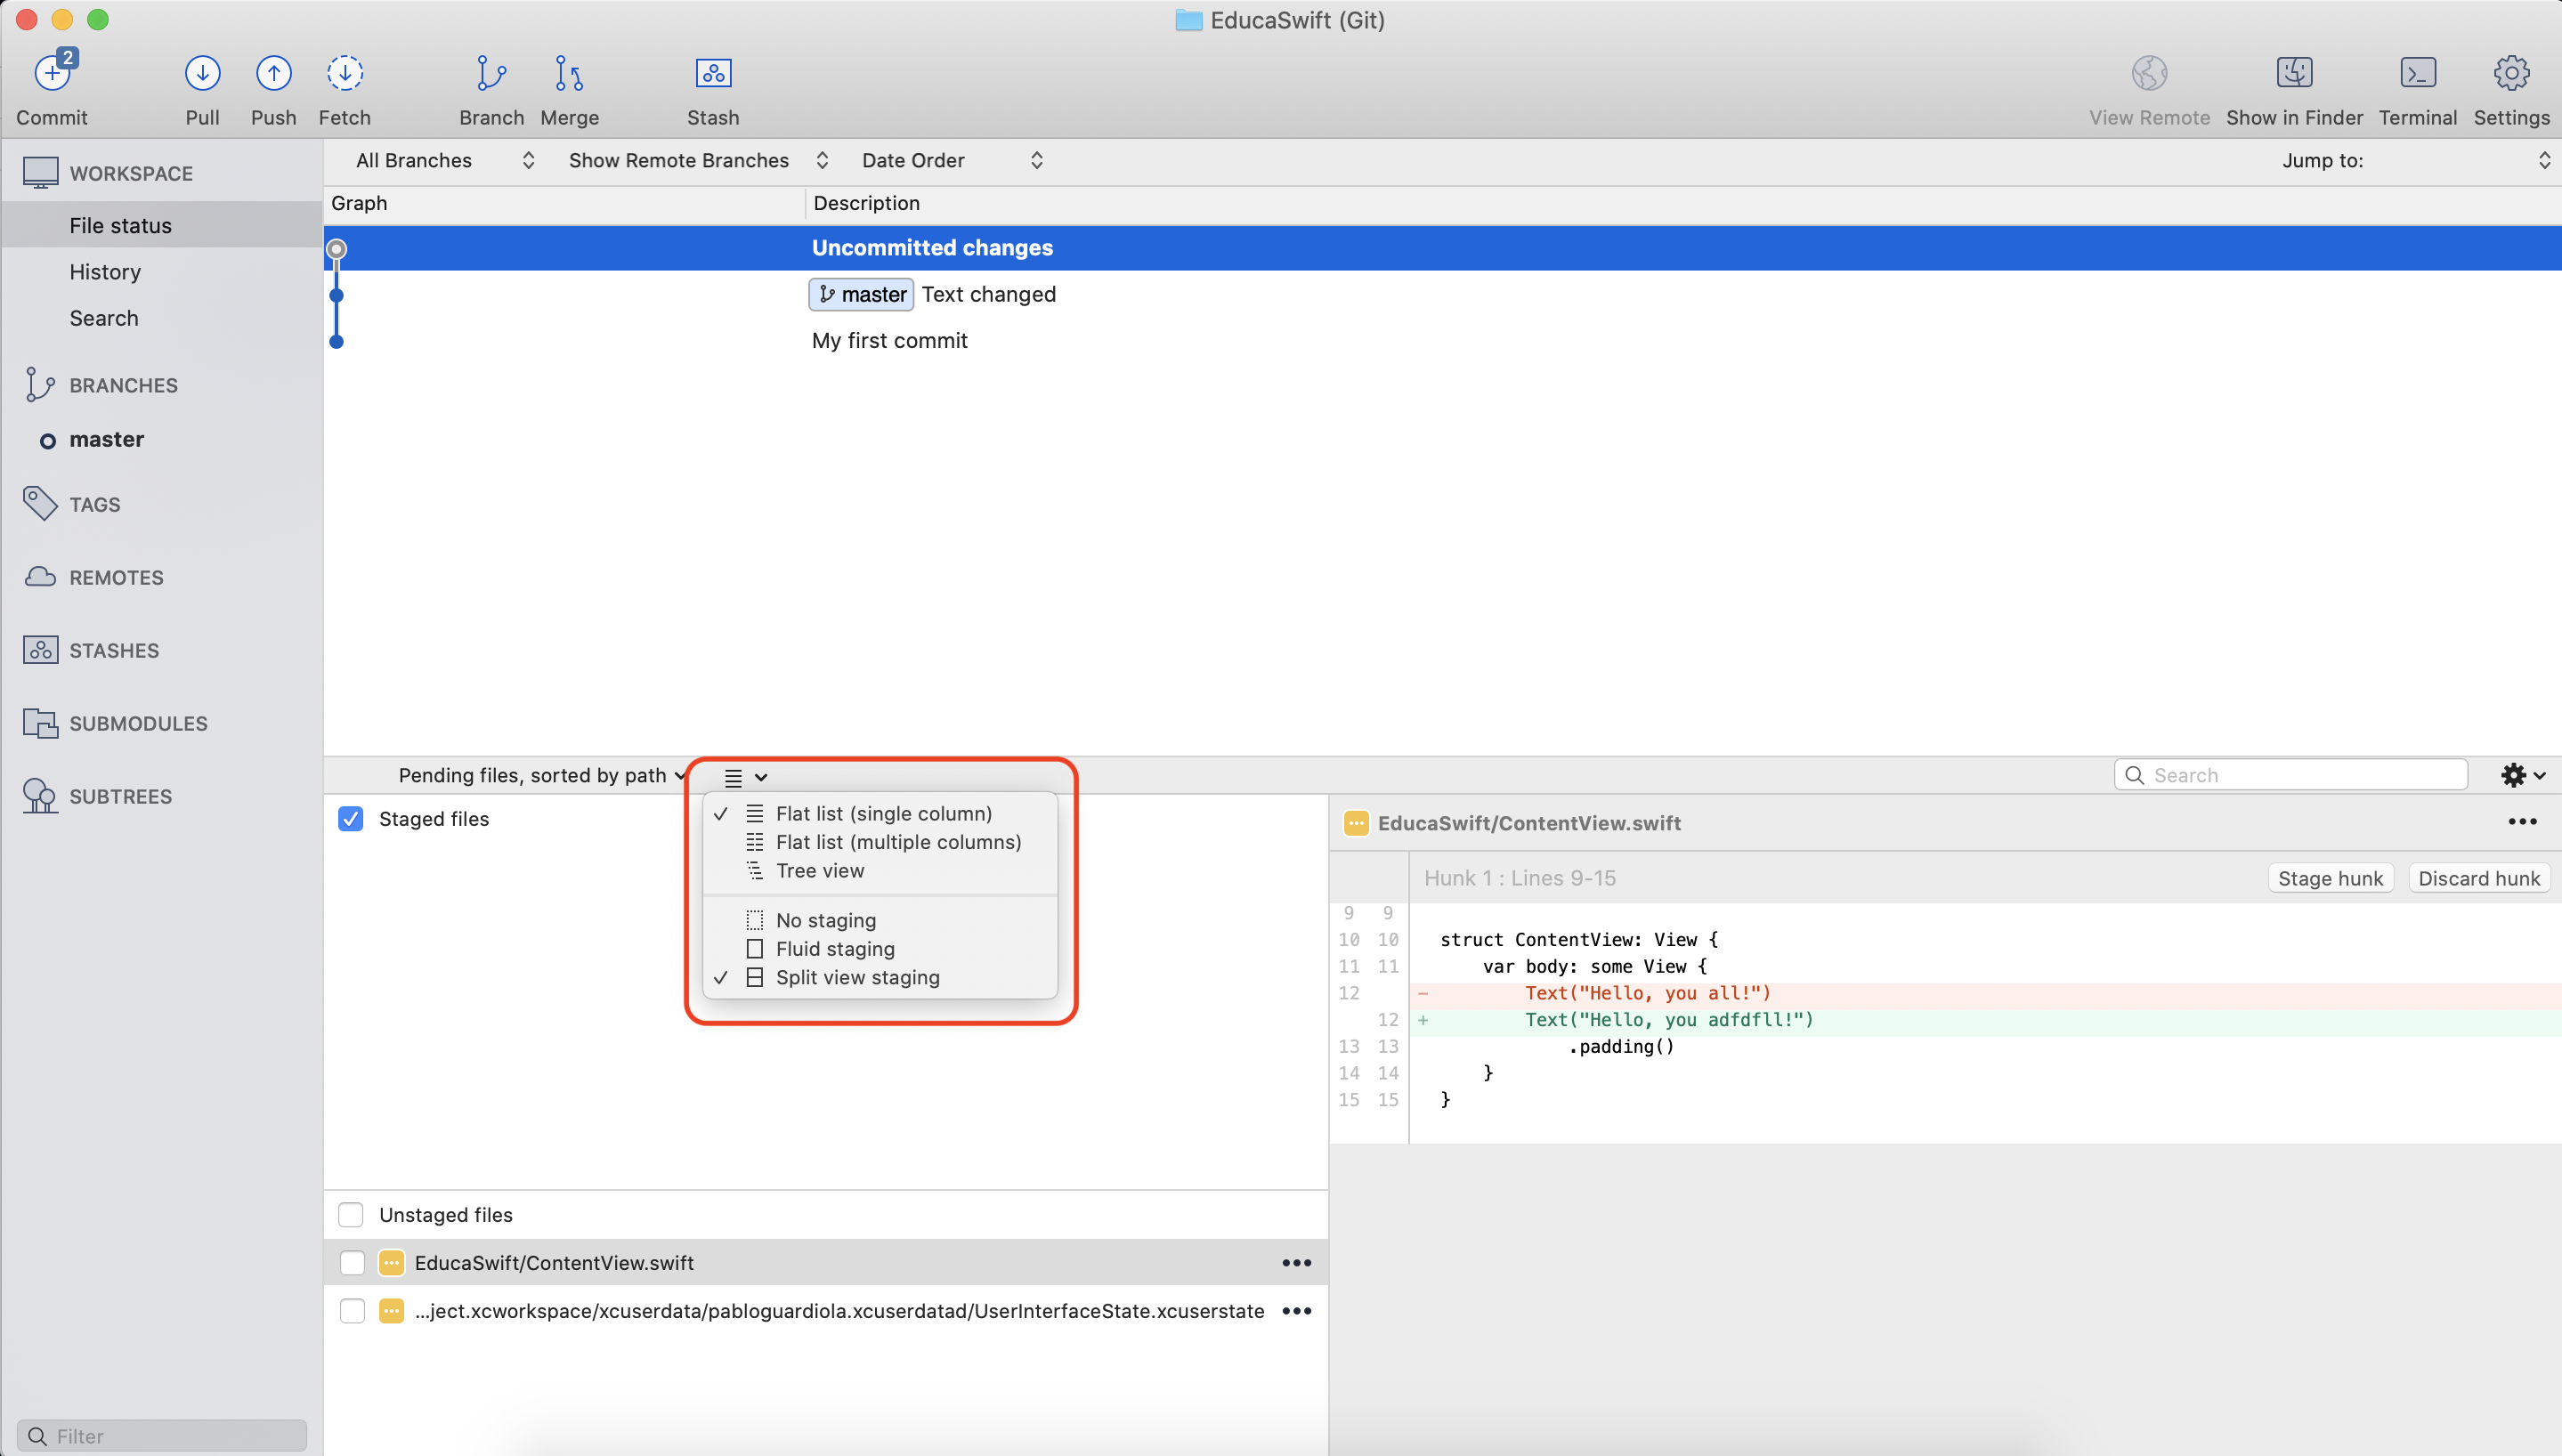
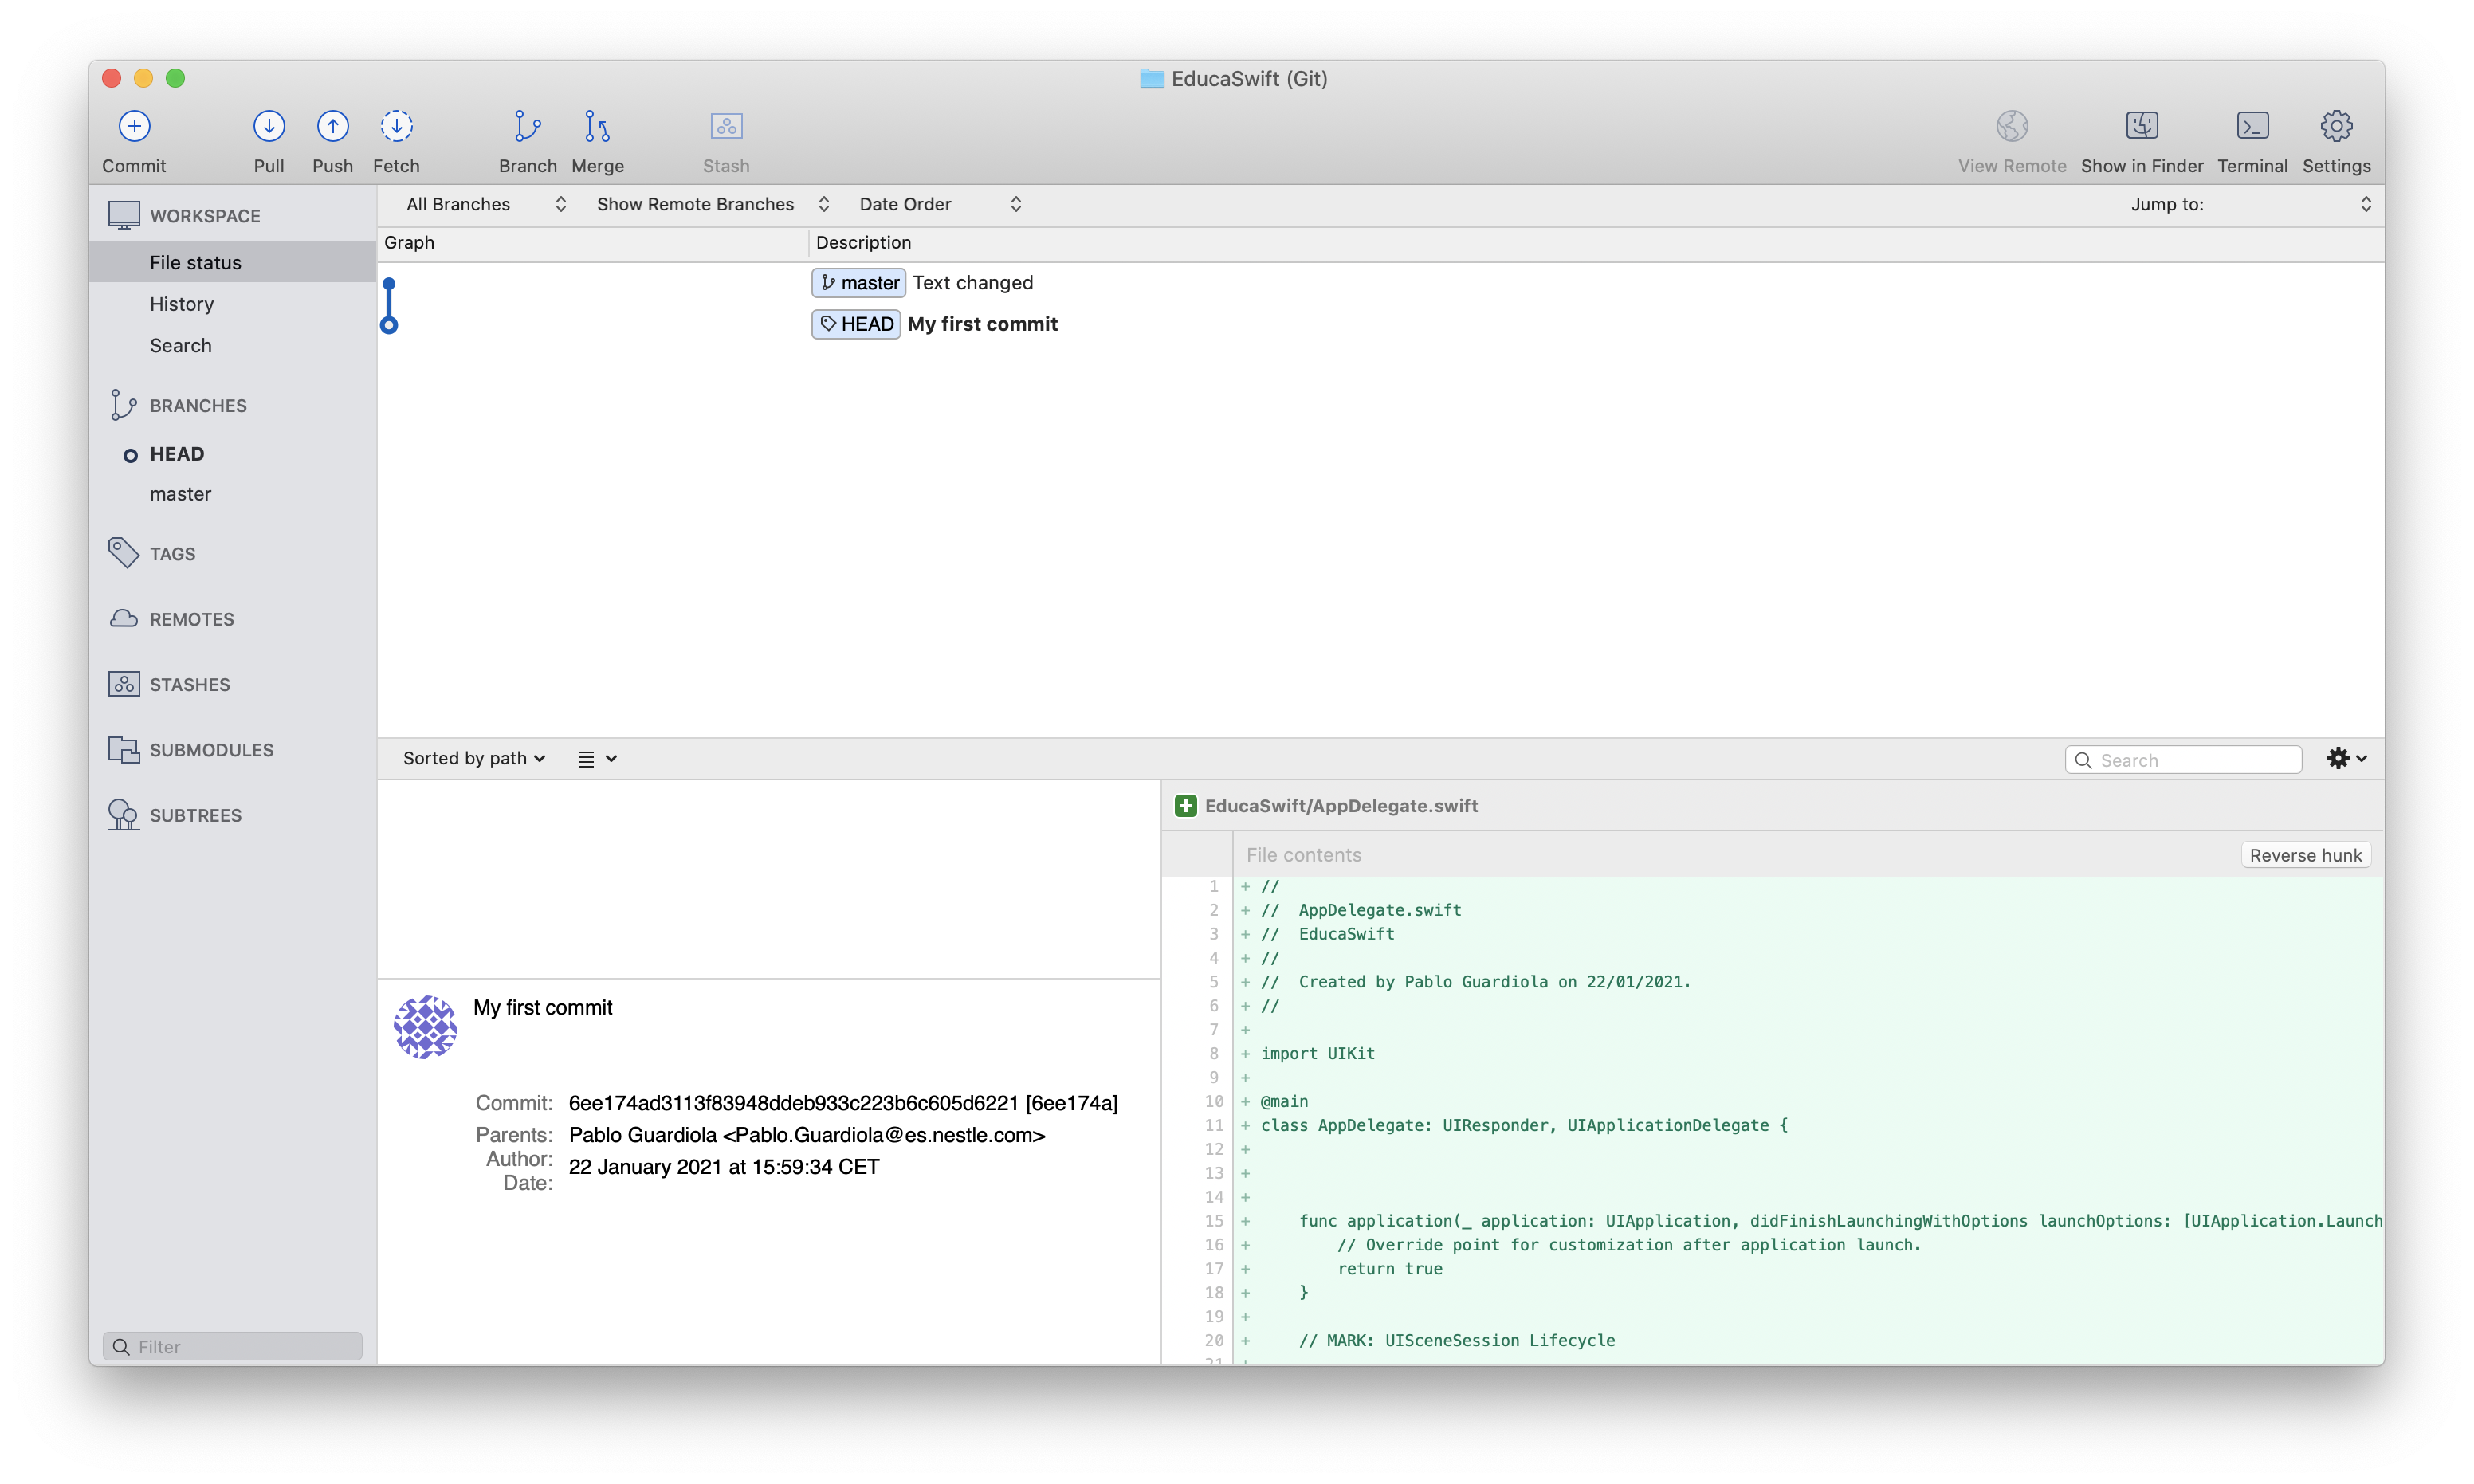
We recommend using the layout shown in the following image.
First Commit
A Commit is a safe point, like a checkpoint. When we need to revert to a previous version of our code, we can only go back to the points where we made a Commit. You can make Commits at any time, but it's recommended to create a new Commit whenever you make a minimally significant change.
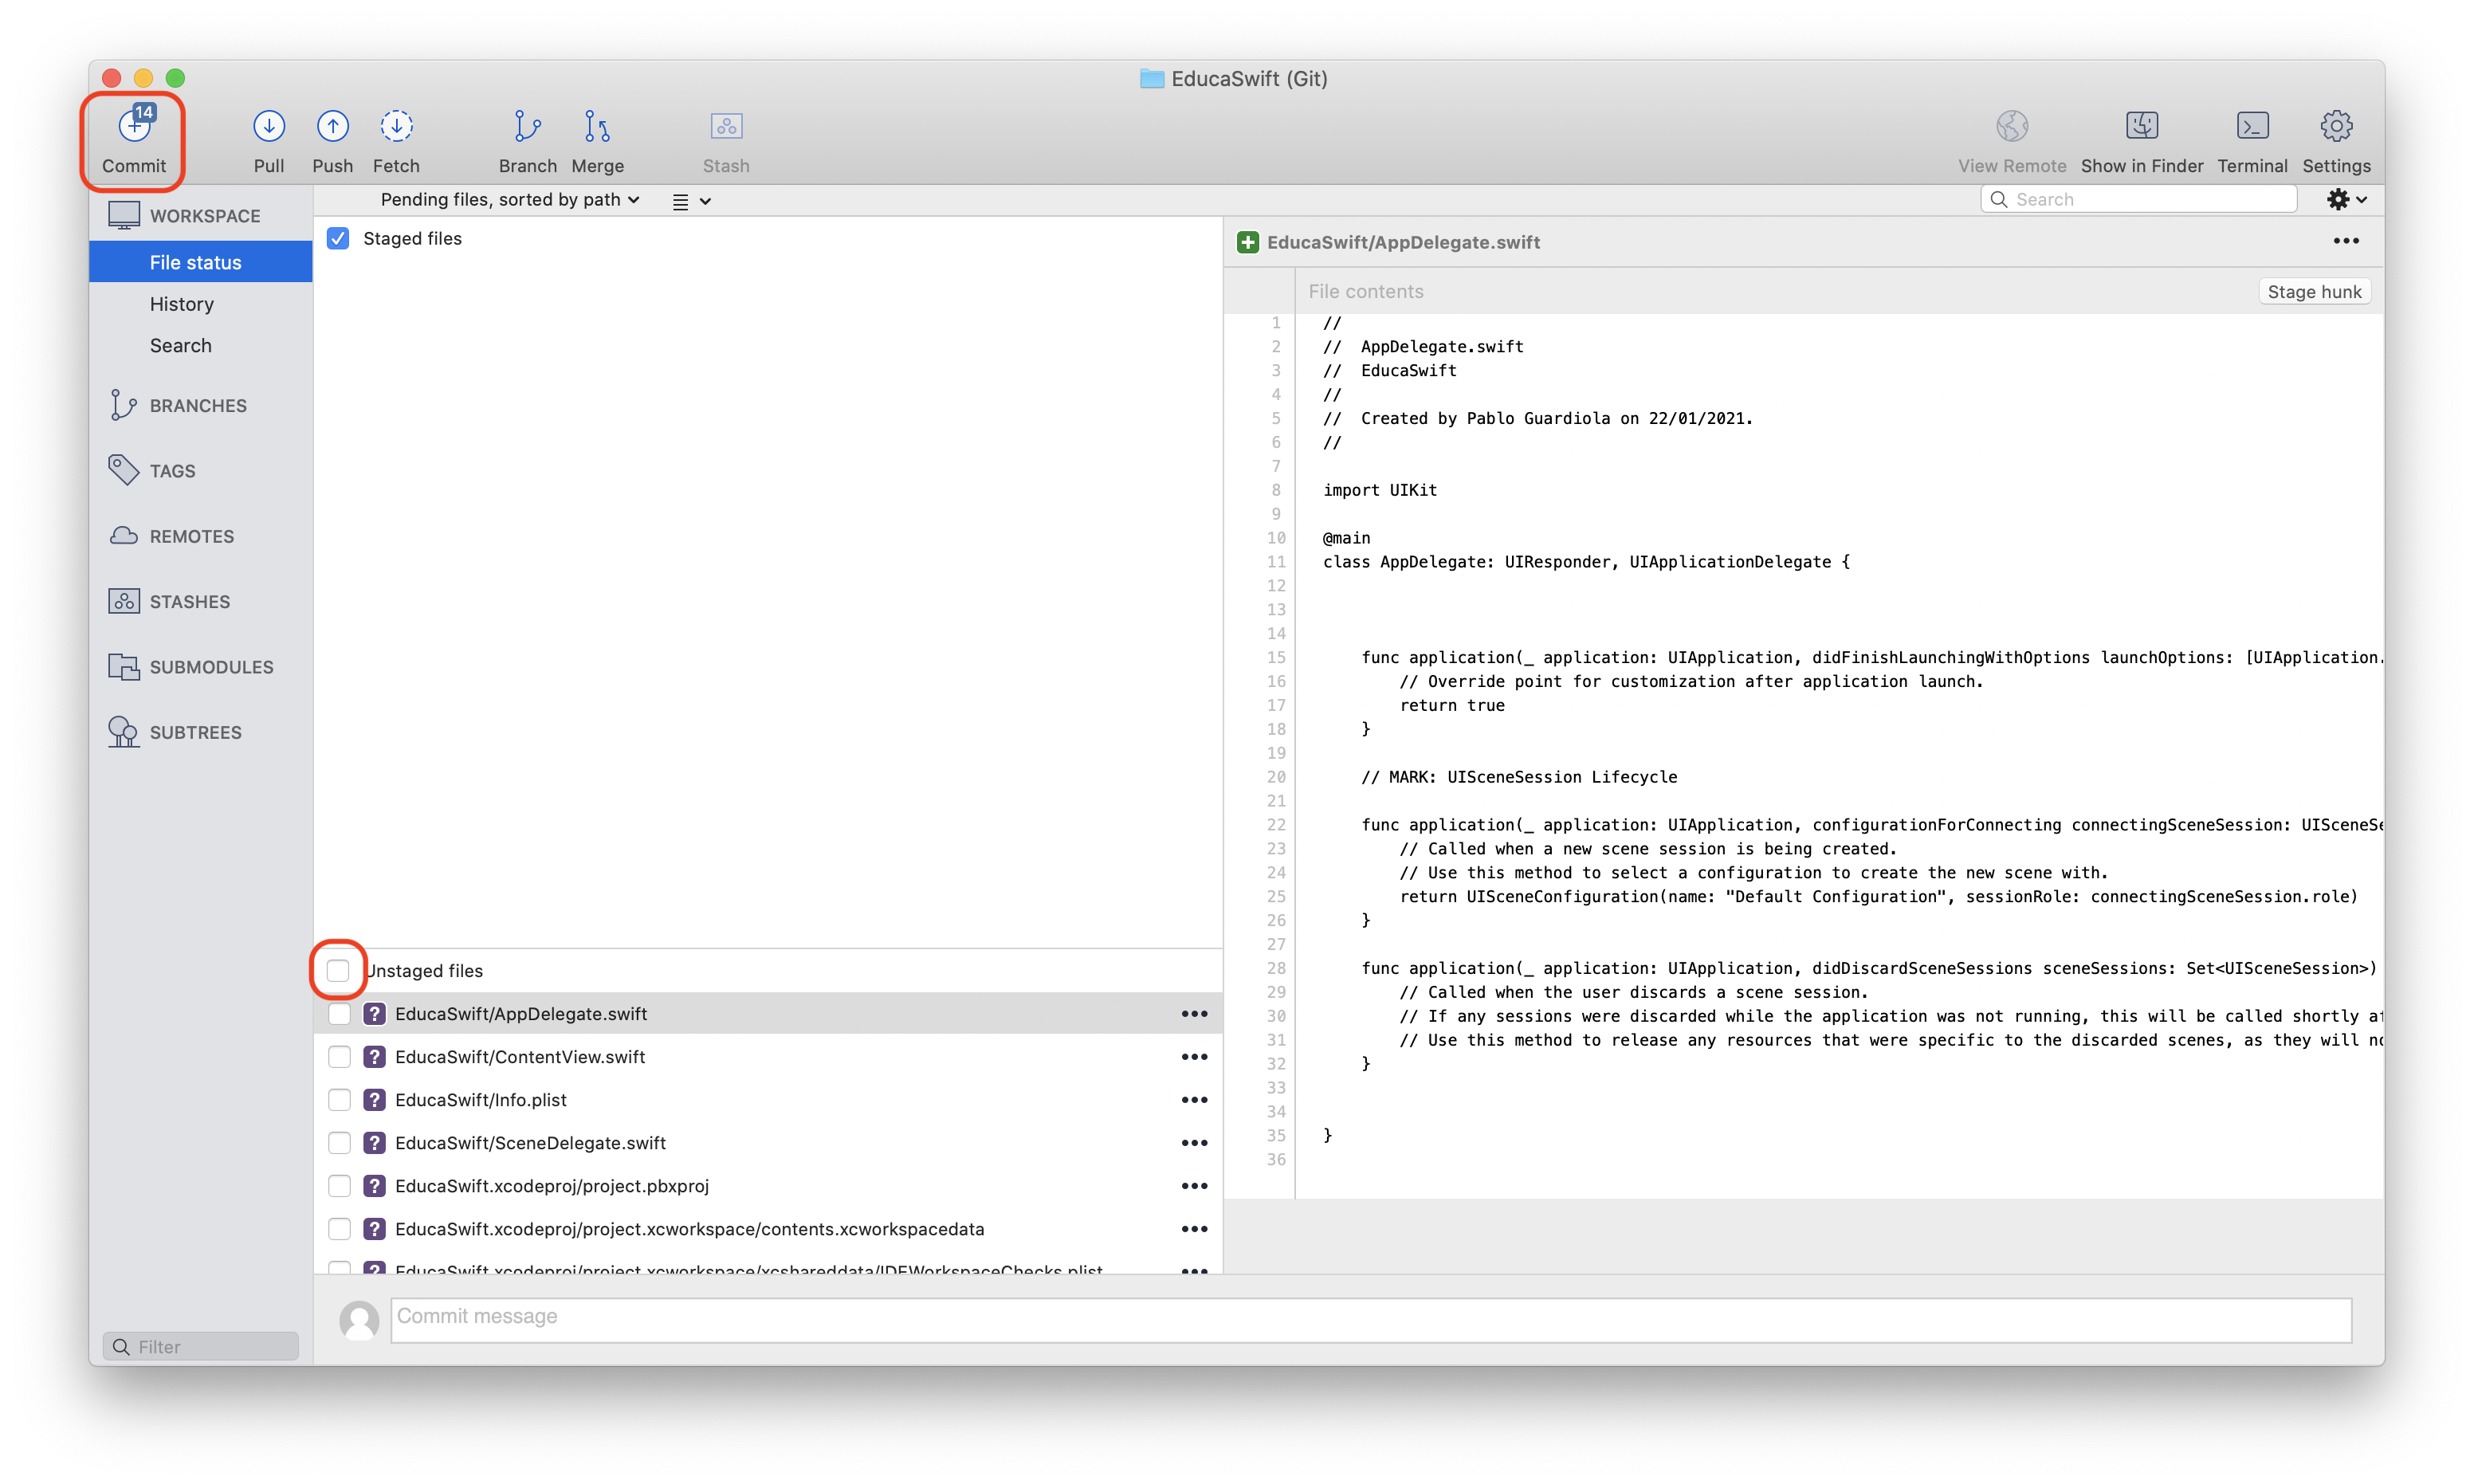
Once we have opened our repository, we’ll see new changes at the bottom. Since we've never made a Commit before, what we see is a list of every single file in our Xcode project. So, for our first Commit, we will save all the files. To do this, we need to move the files from the Unstaged files section to the Staged files section by clicking the checkbox as shown in the following image (files in Unstaged files won’t be included in our Commit). After this, click the "Commit" button at the top left.
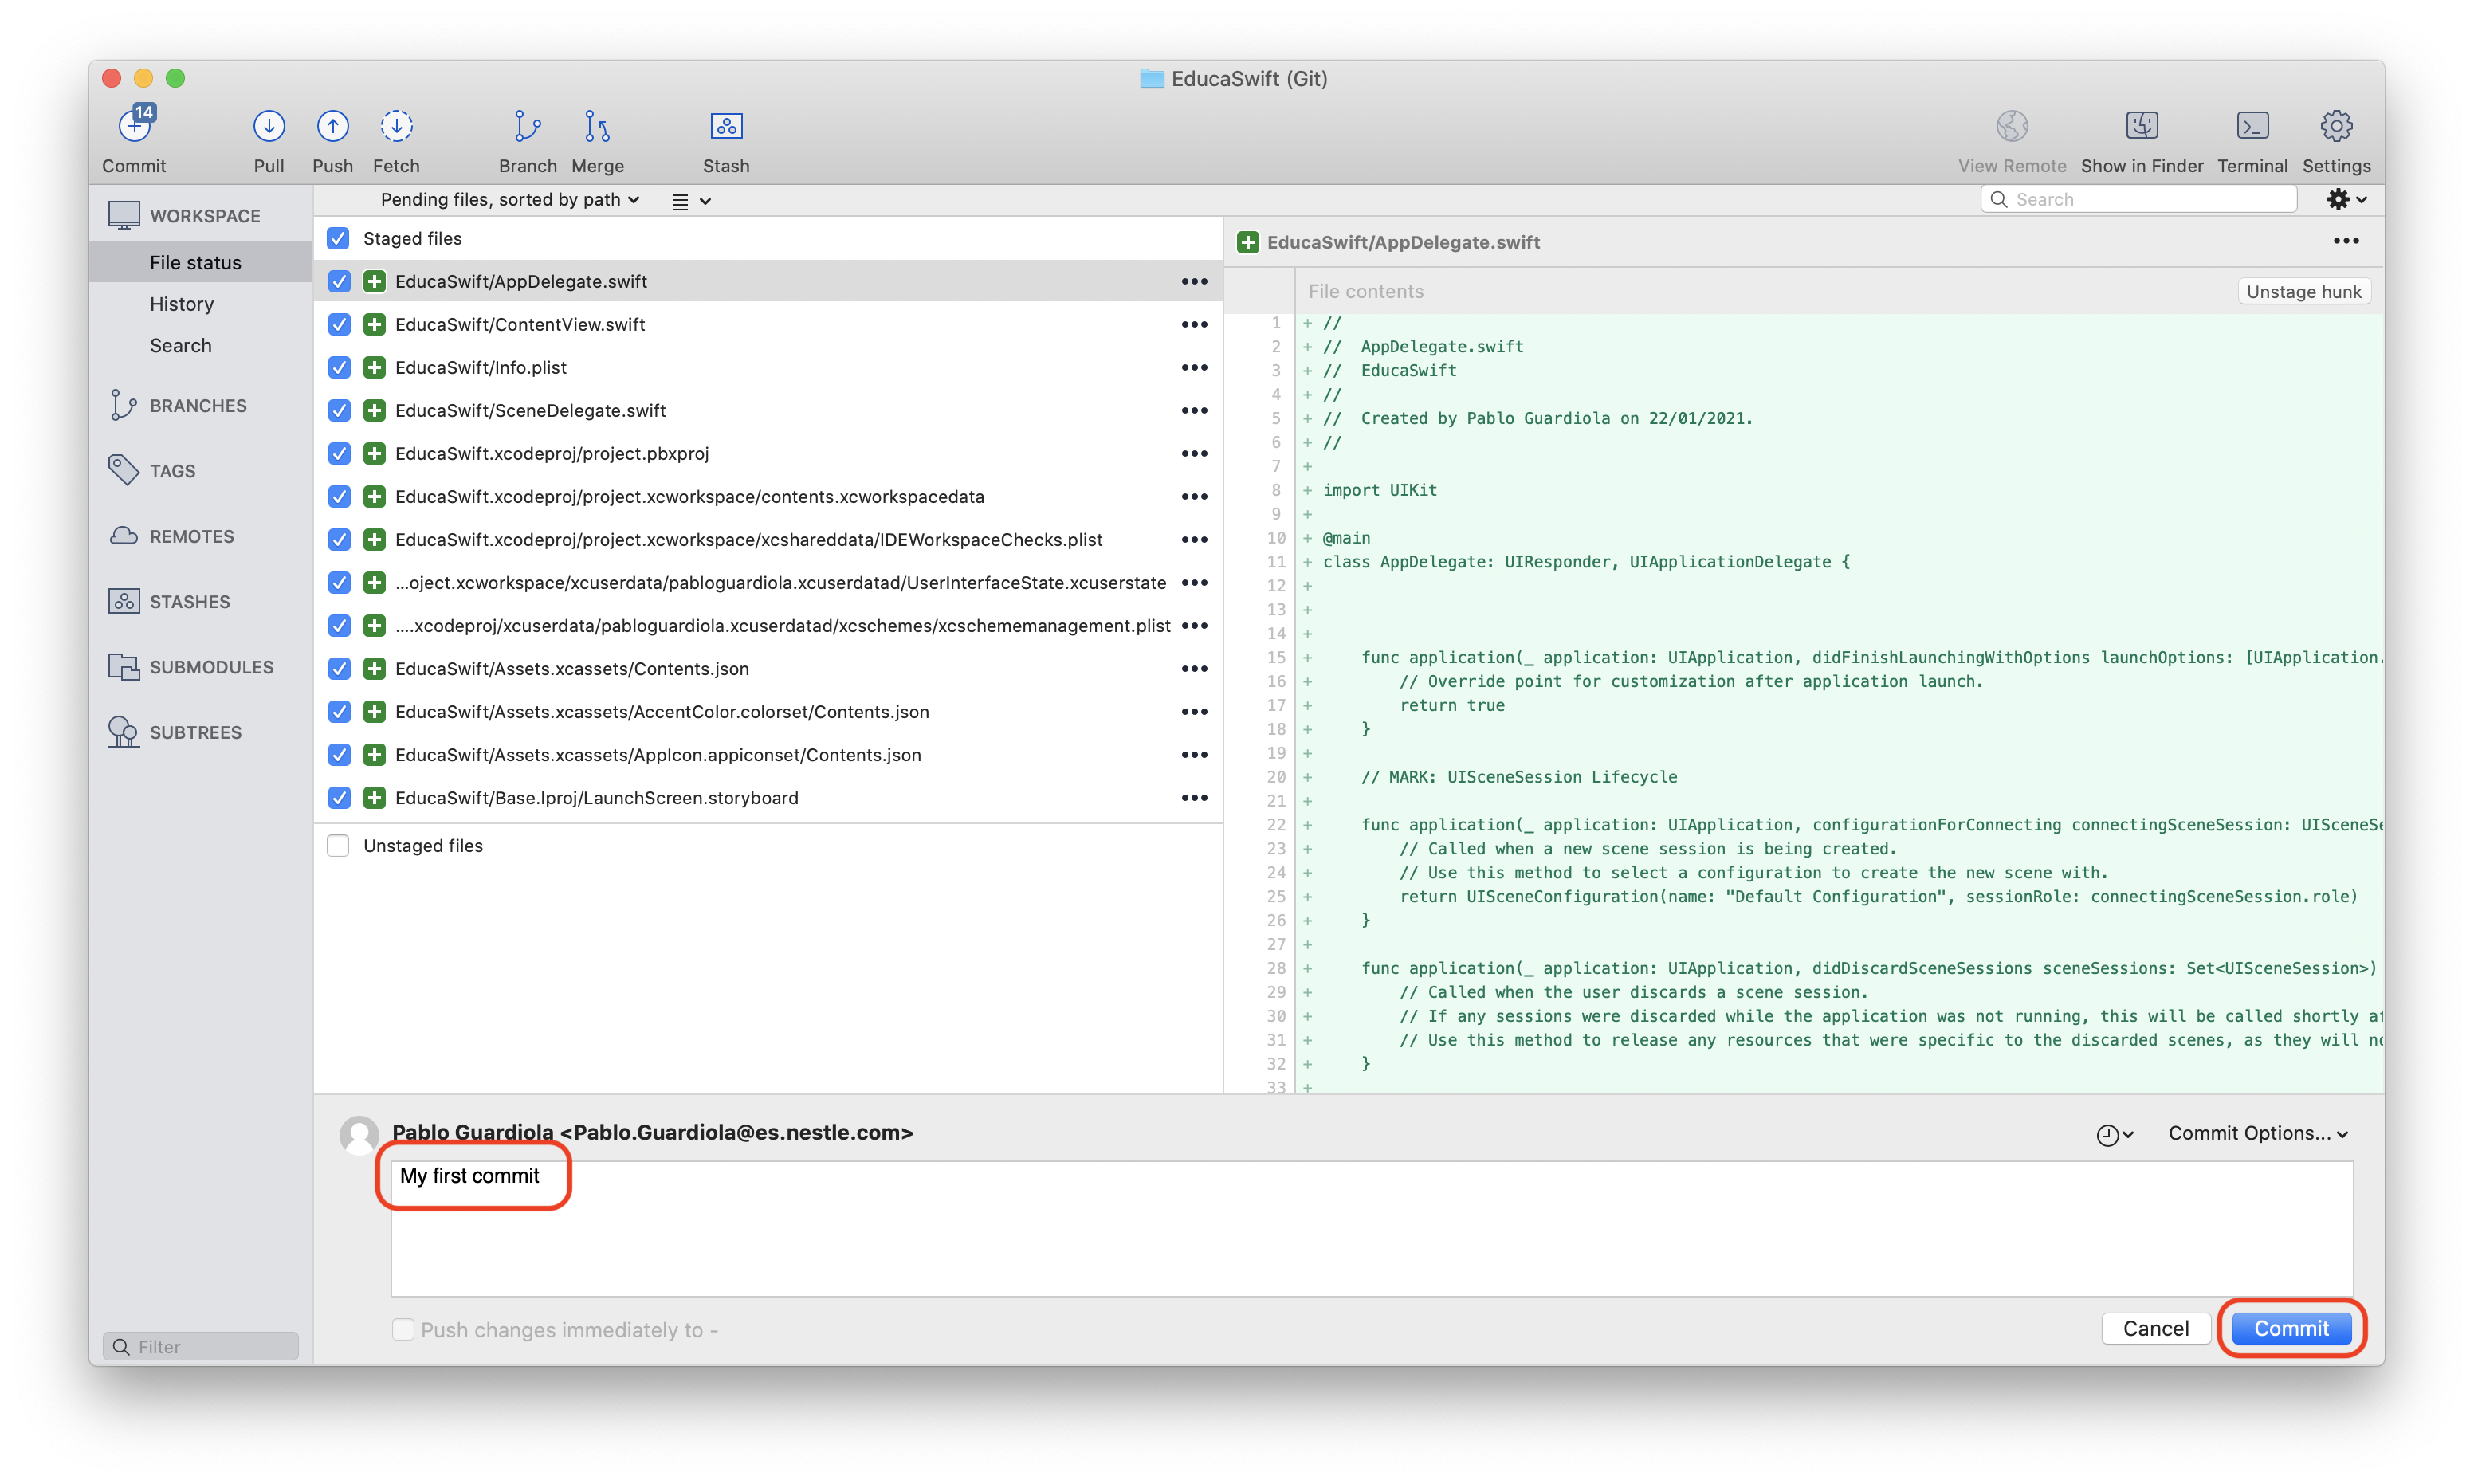
The next step is to enter a description for our Commit, which will help us identify it when we have thousands of them. Once the description is entered, click the Commit button.
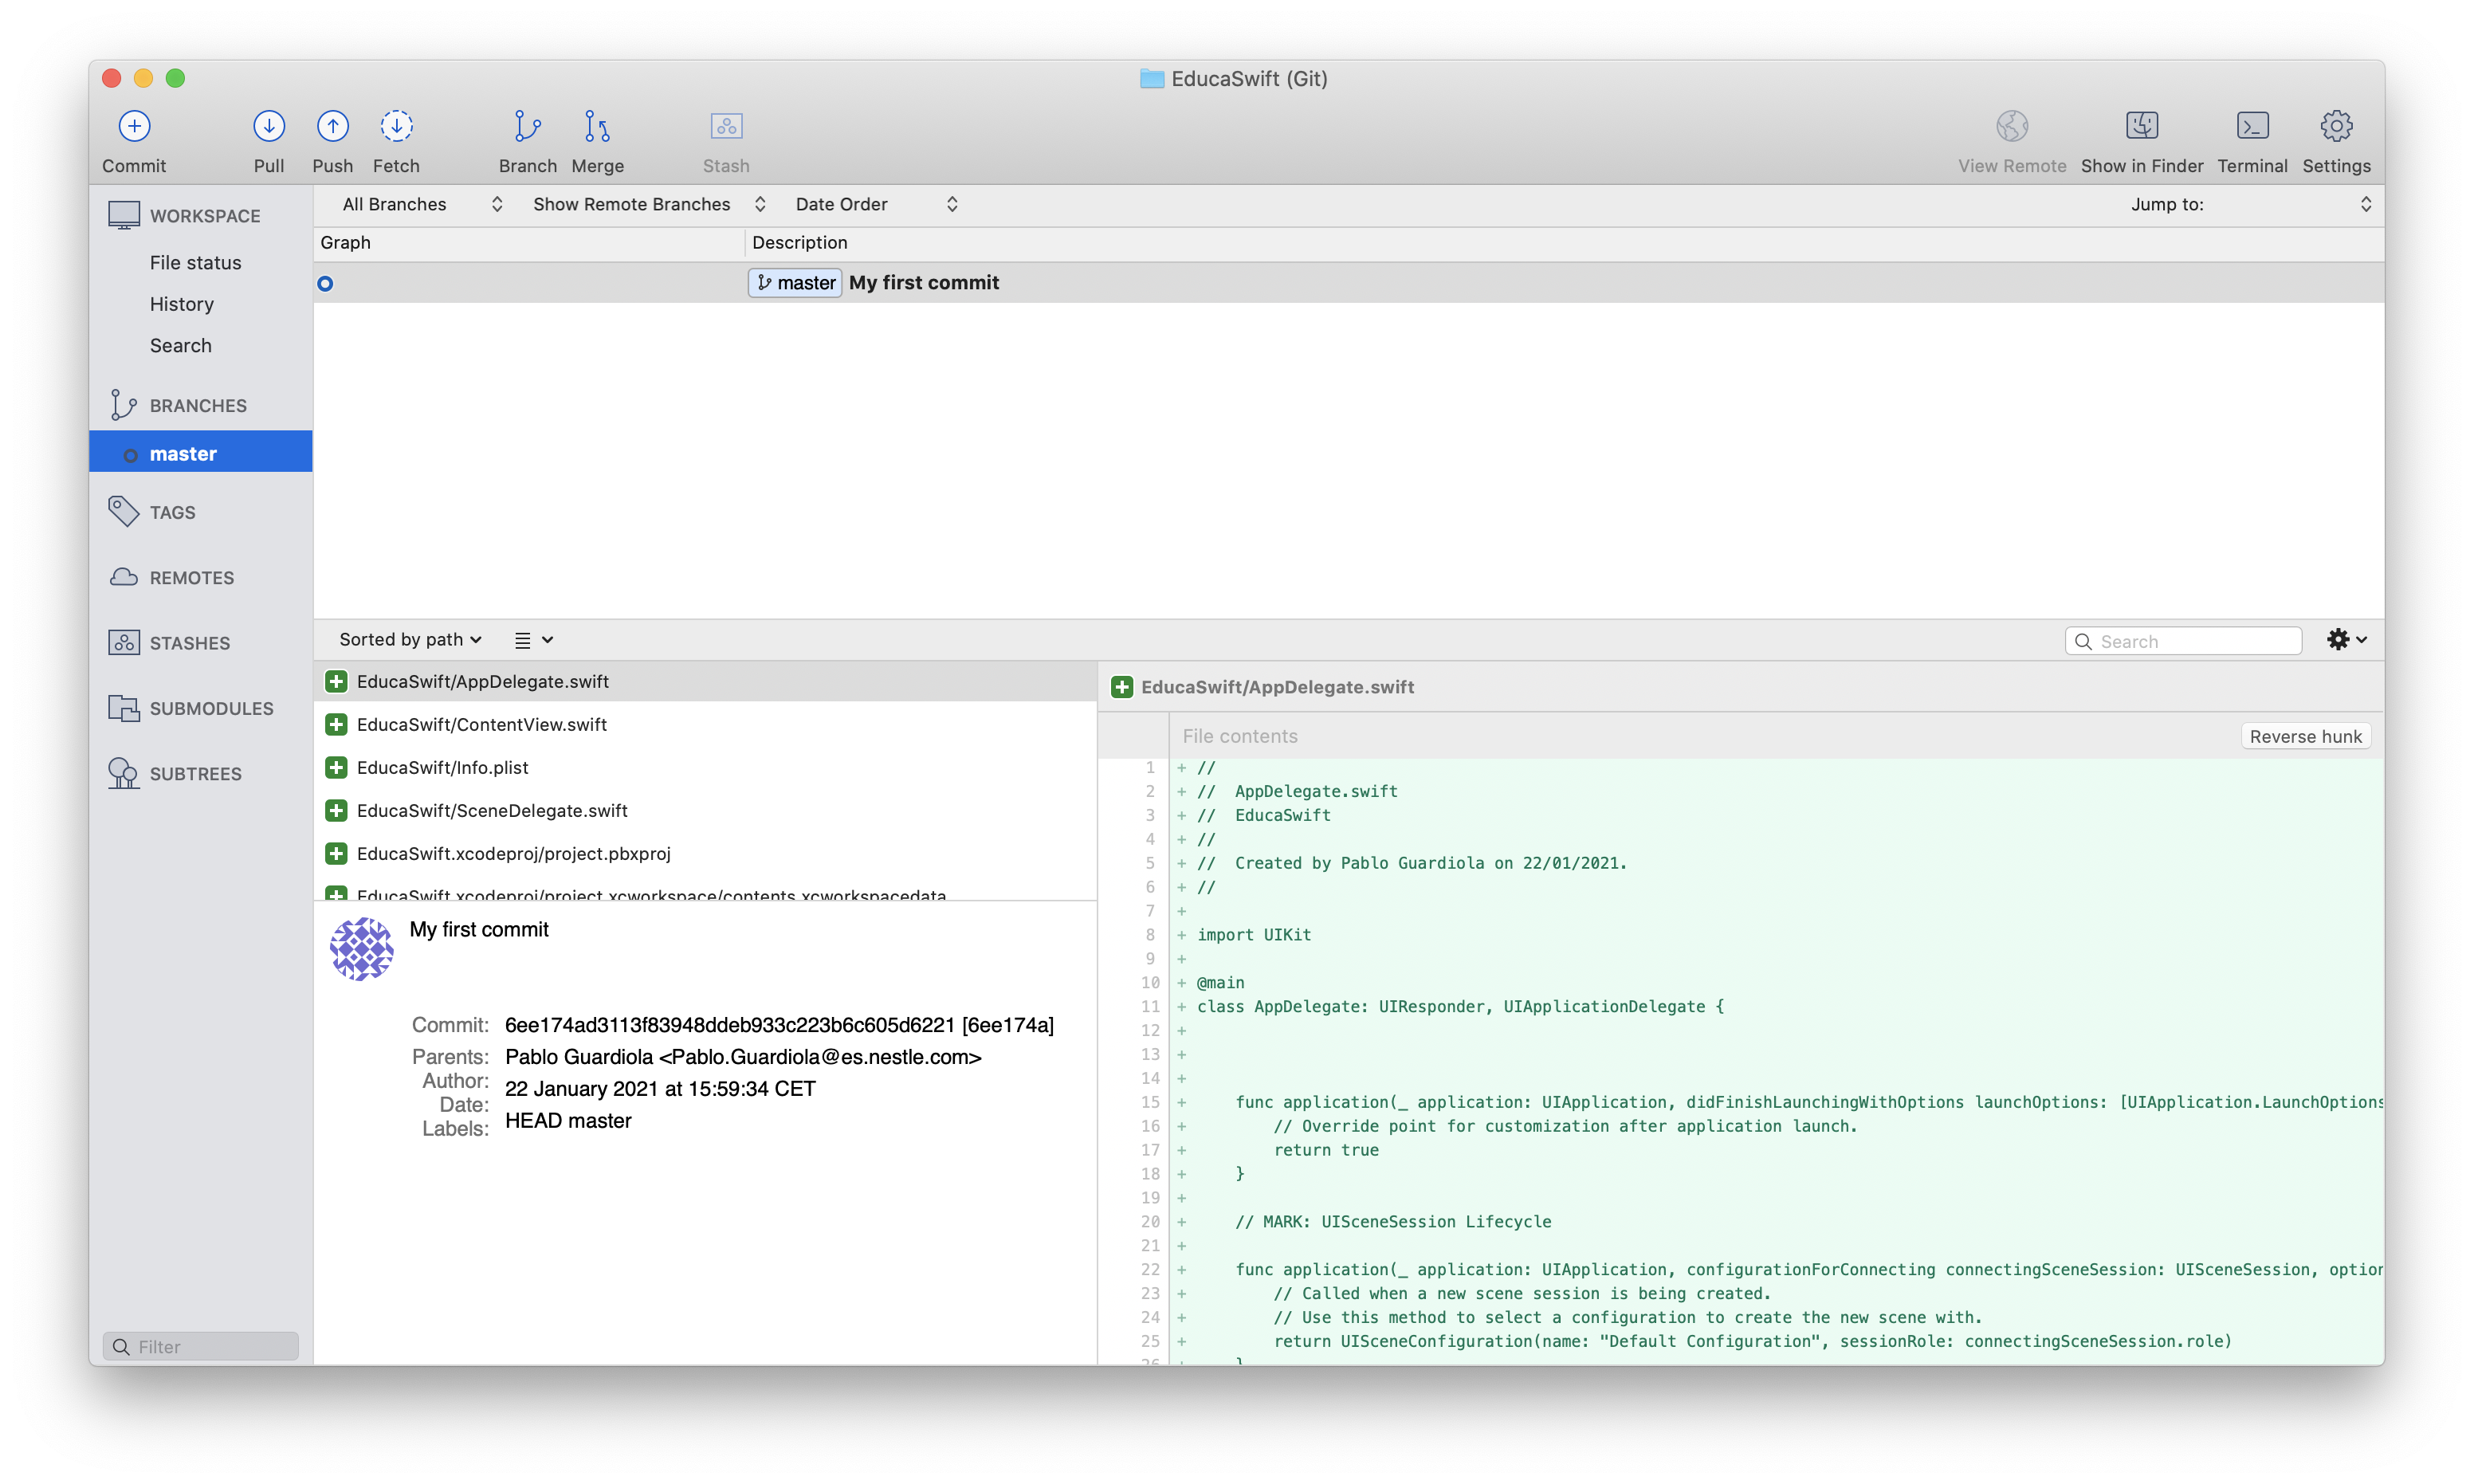
As a result, we can see our first Commit as a blue dot.
Saving new changes
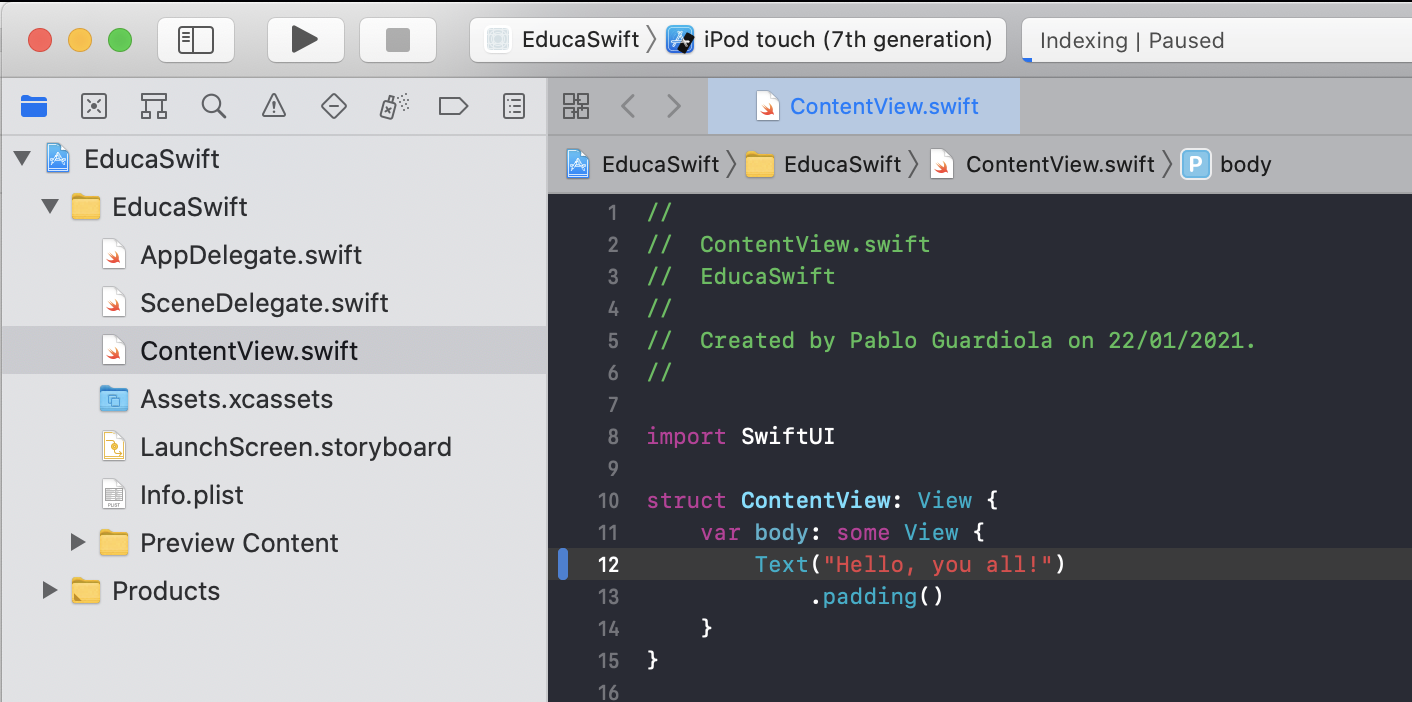
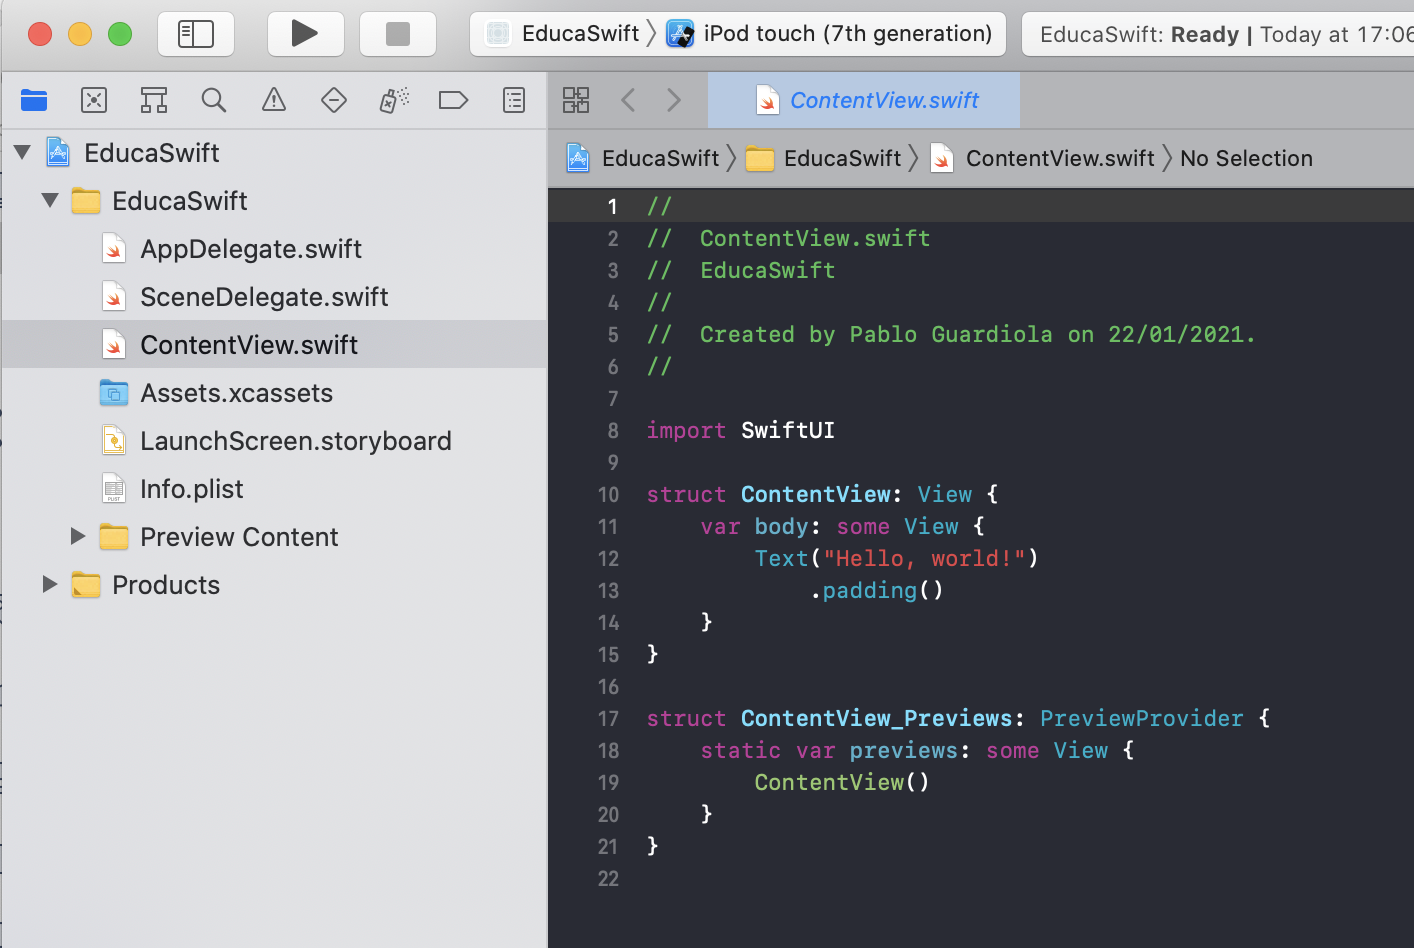
Let’s see how we can save the changes we make to our Xcode project. For this example, we’ll change some text in ContentView.swift.
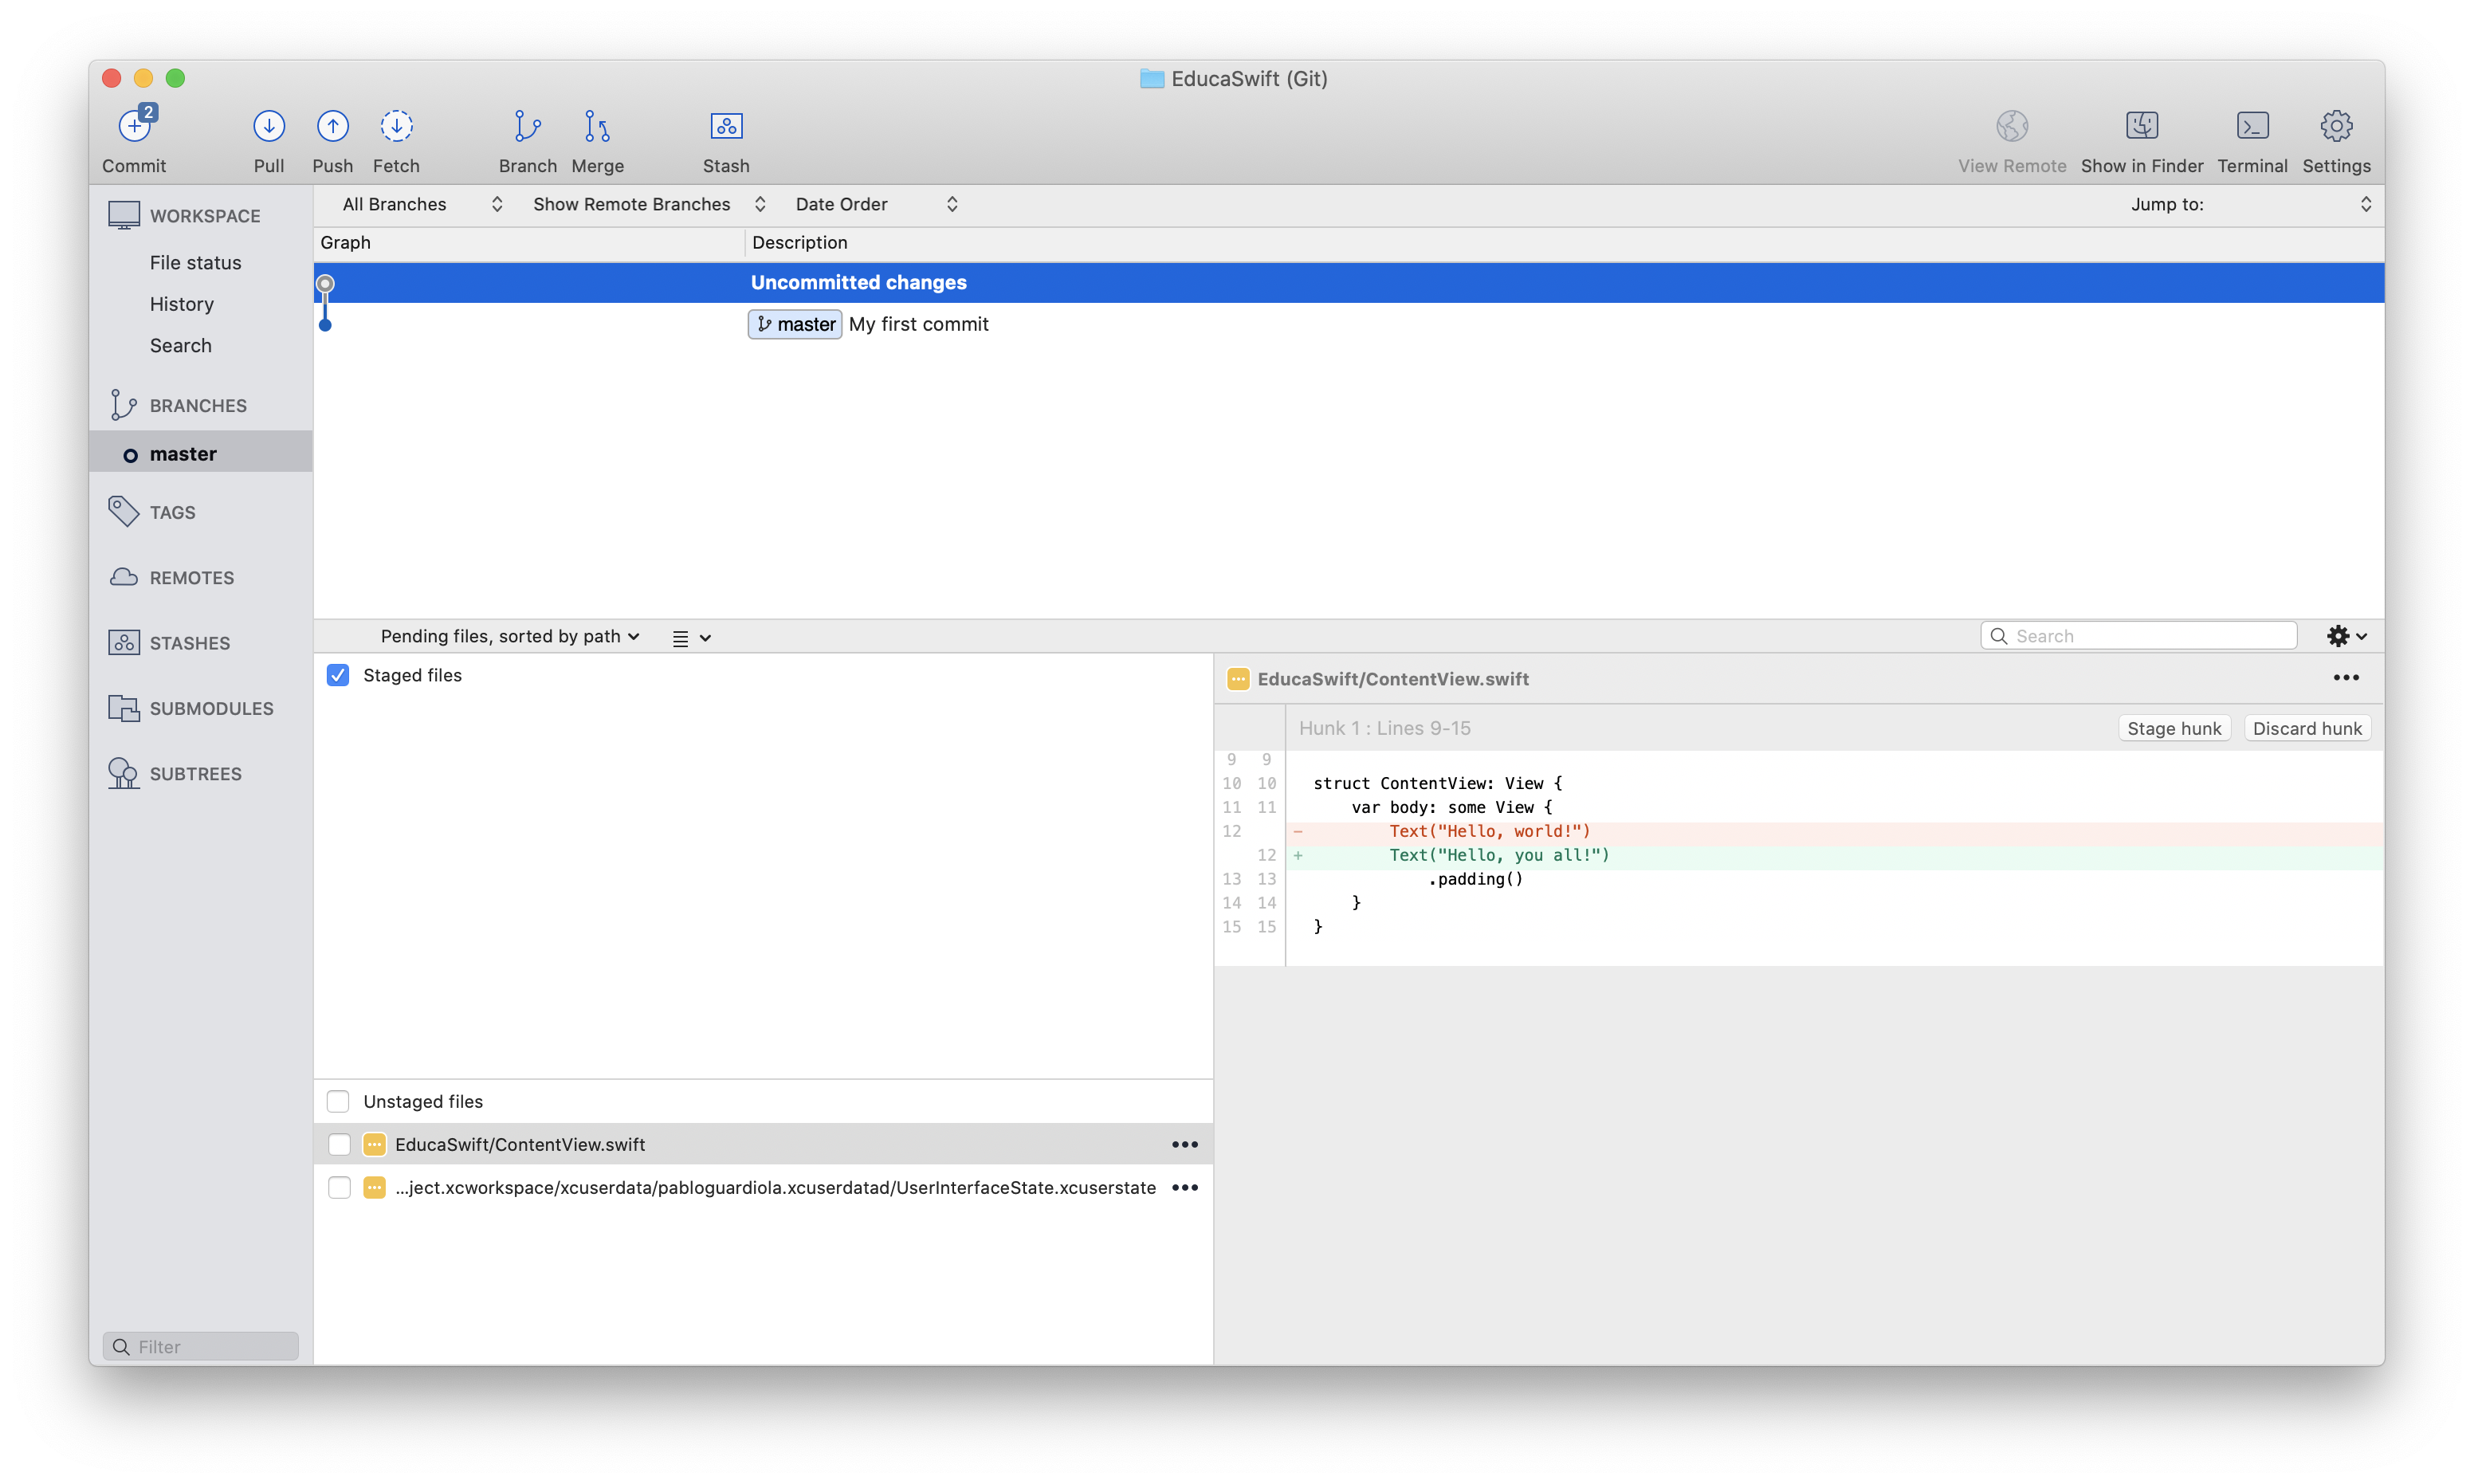
When we go back to SourceTree, after refreshing, we will see a gray dot labeled Uncommitted changes, which, as the name suggests, are the changes that haven’t been saved. If we select it, we can see the list of changed files at the bottom, and if we select those files, we can see exactly what has changed on the right.
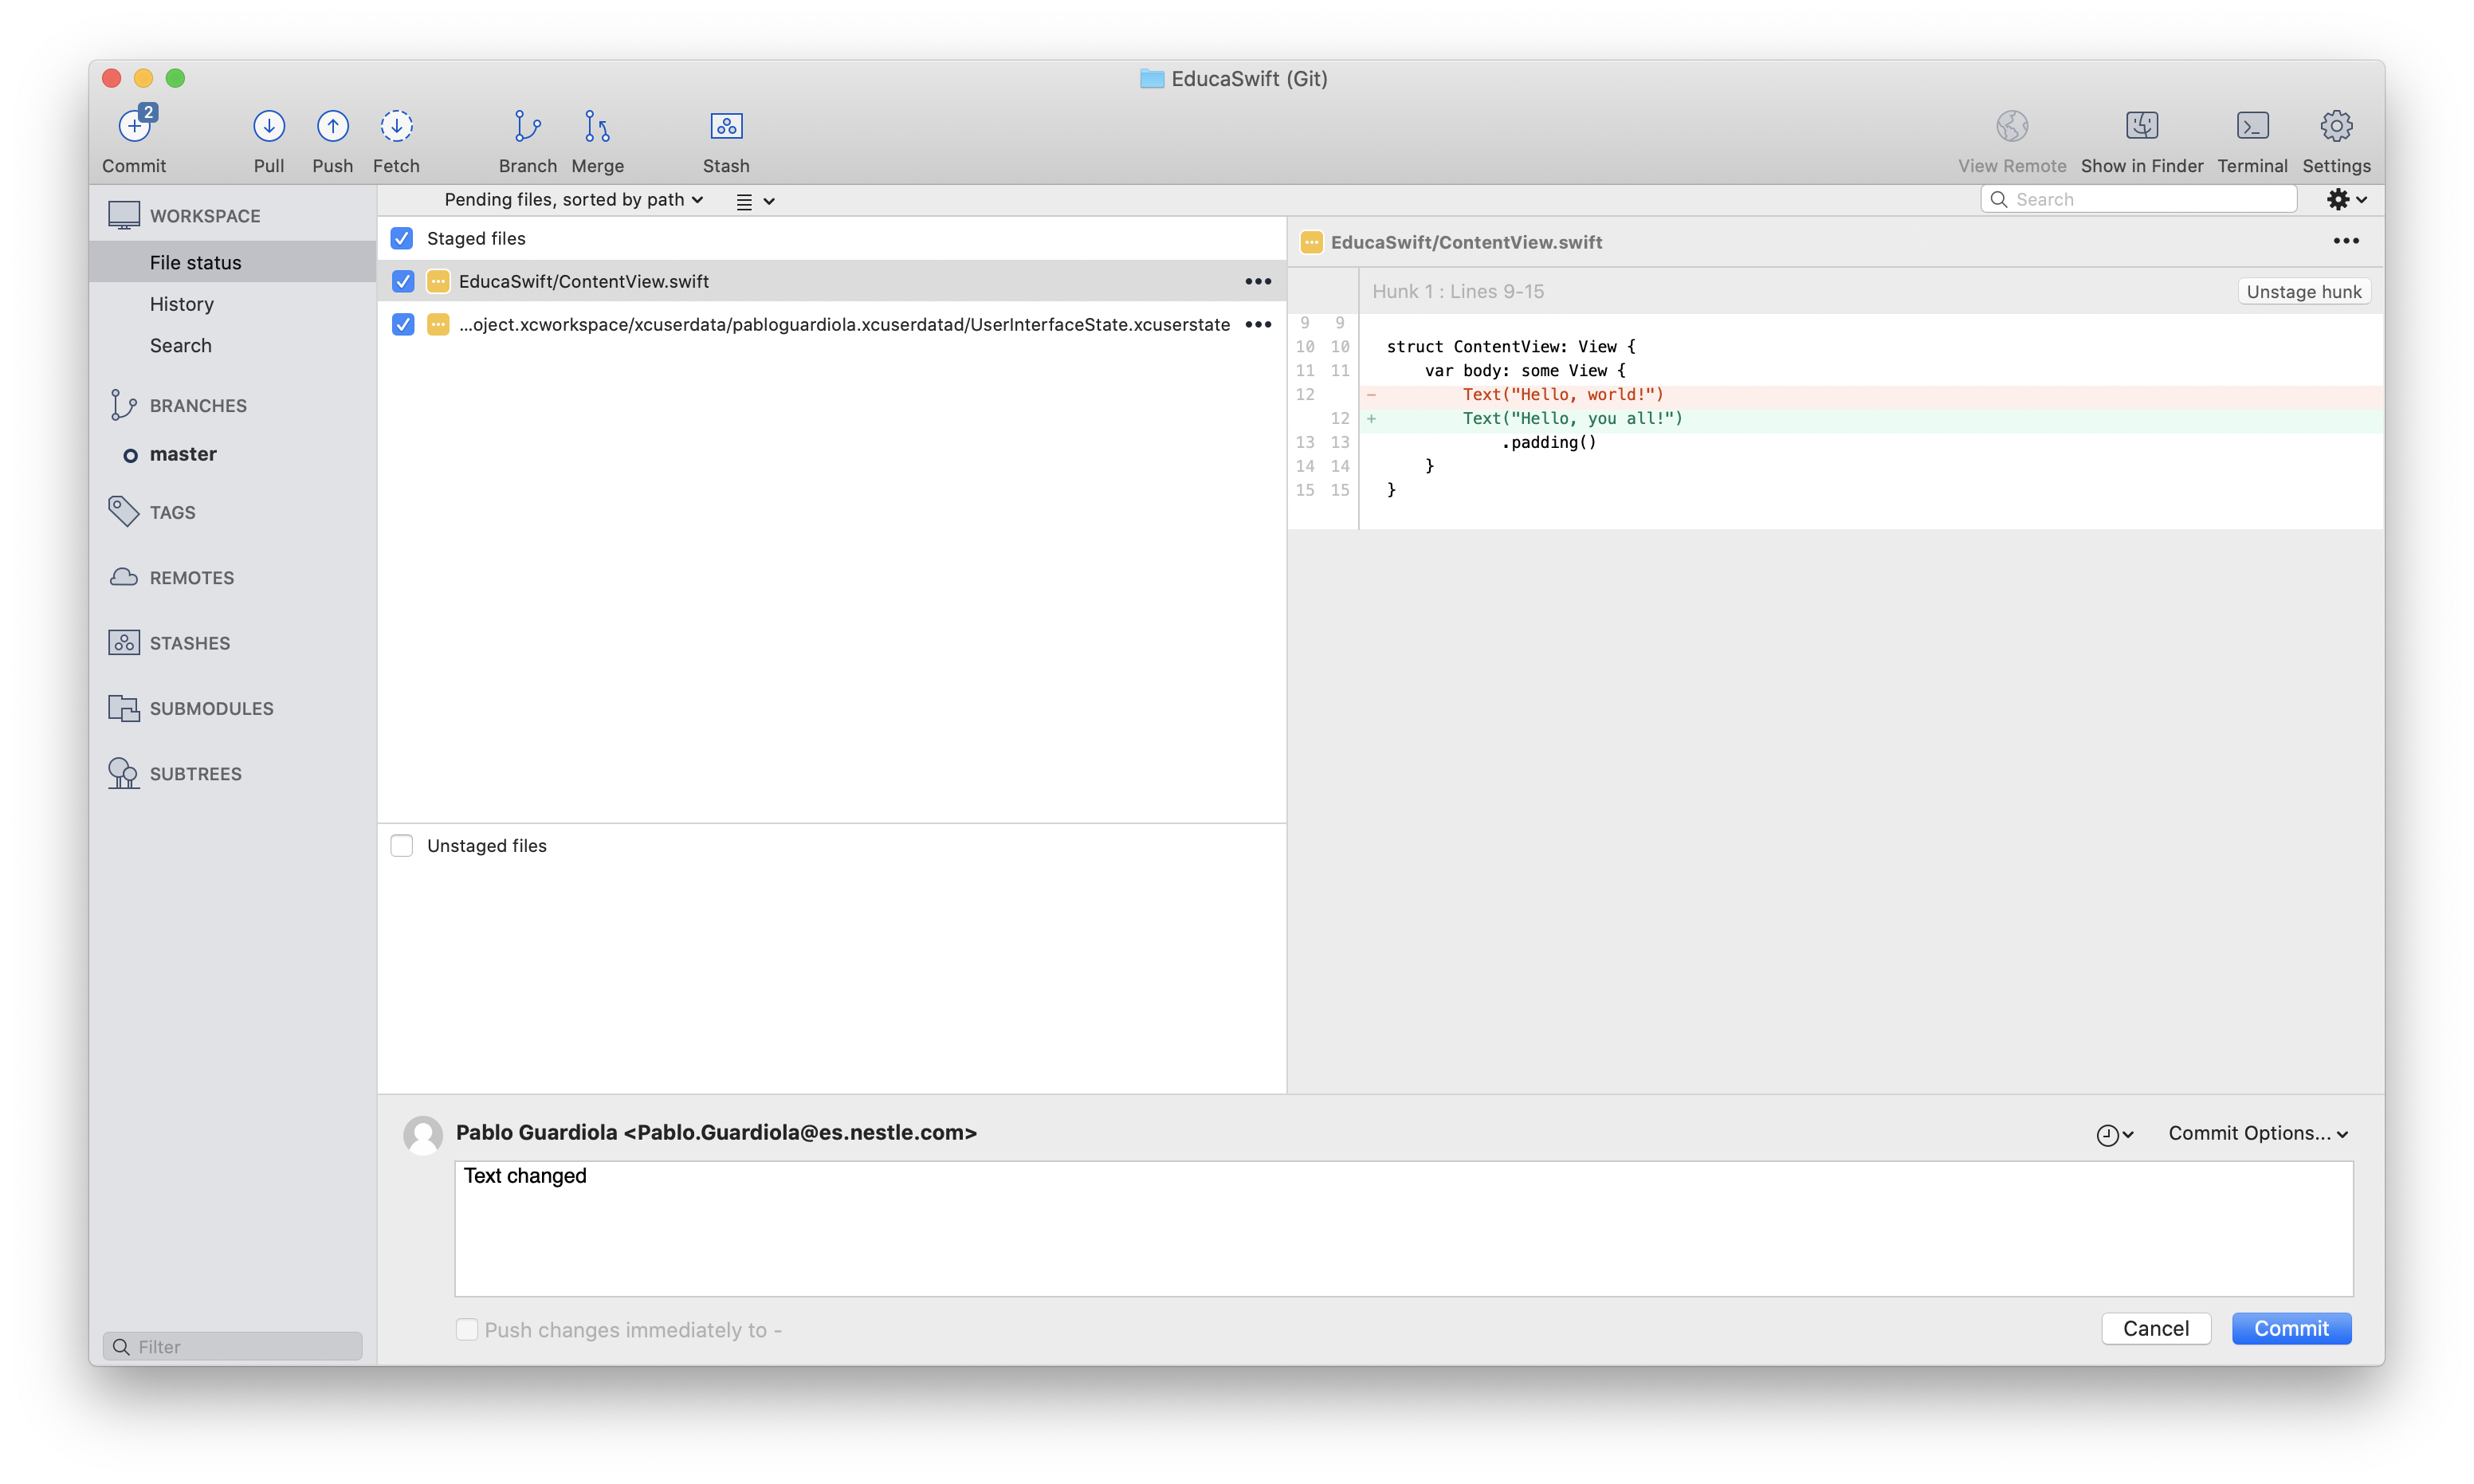
To save these new changes, the process will be exactly the same as for our first Commit.
- Move the files to the Staged files section.
- Click on Commit (top left).
- Enter the description for this Commit
- Click the Commit button (bottom right).
These are the 4 steps we need to follow each time we make significant changes and want to create a new Commit.
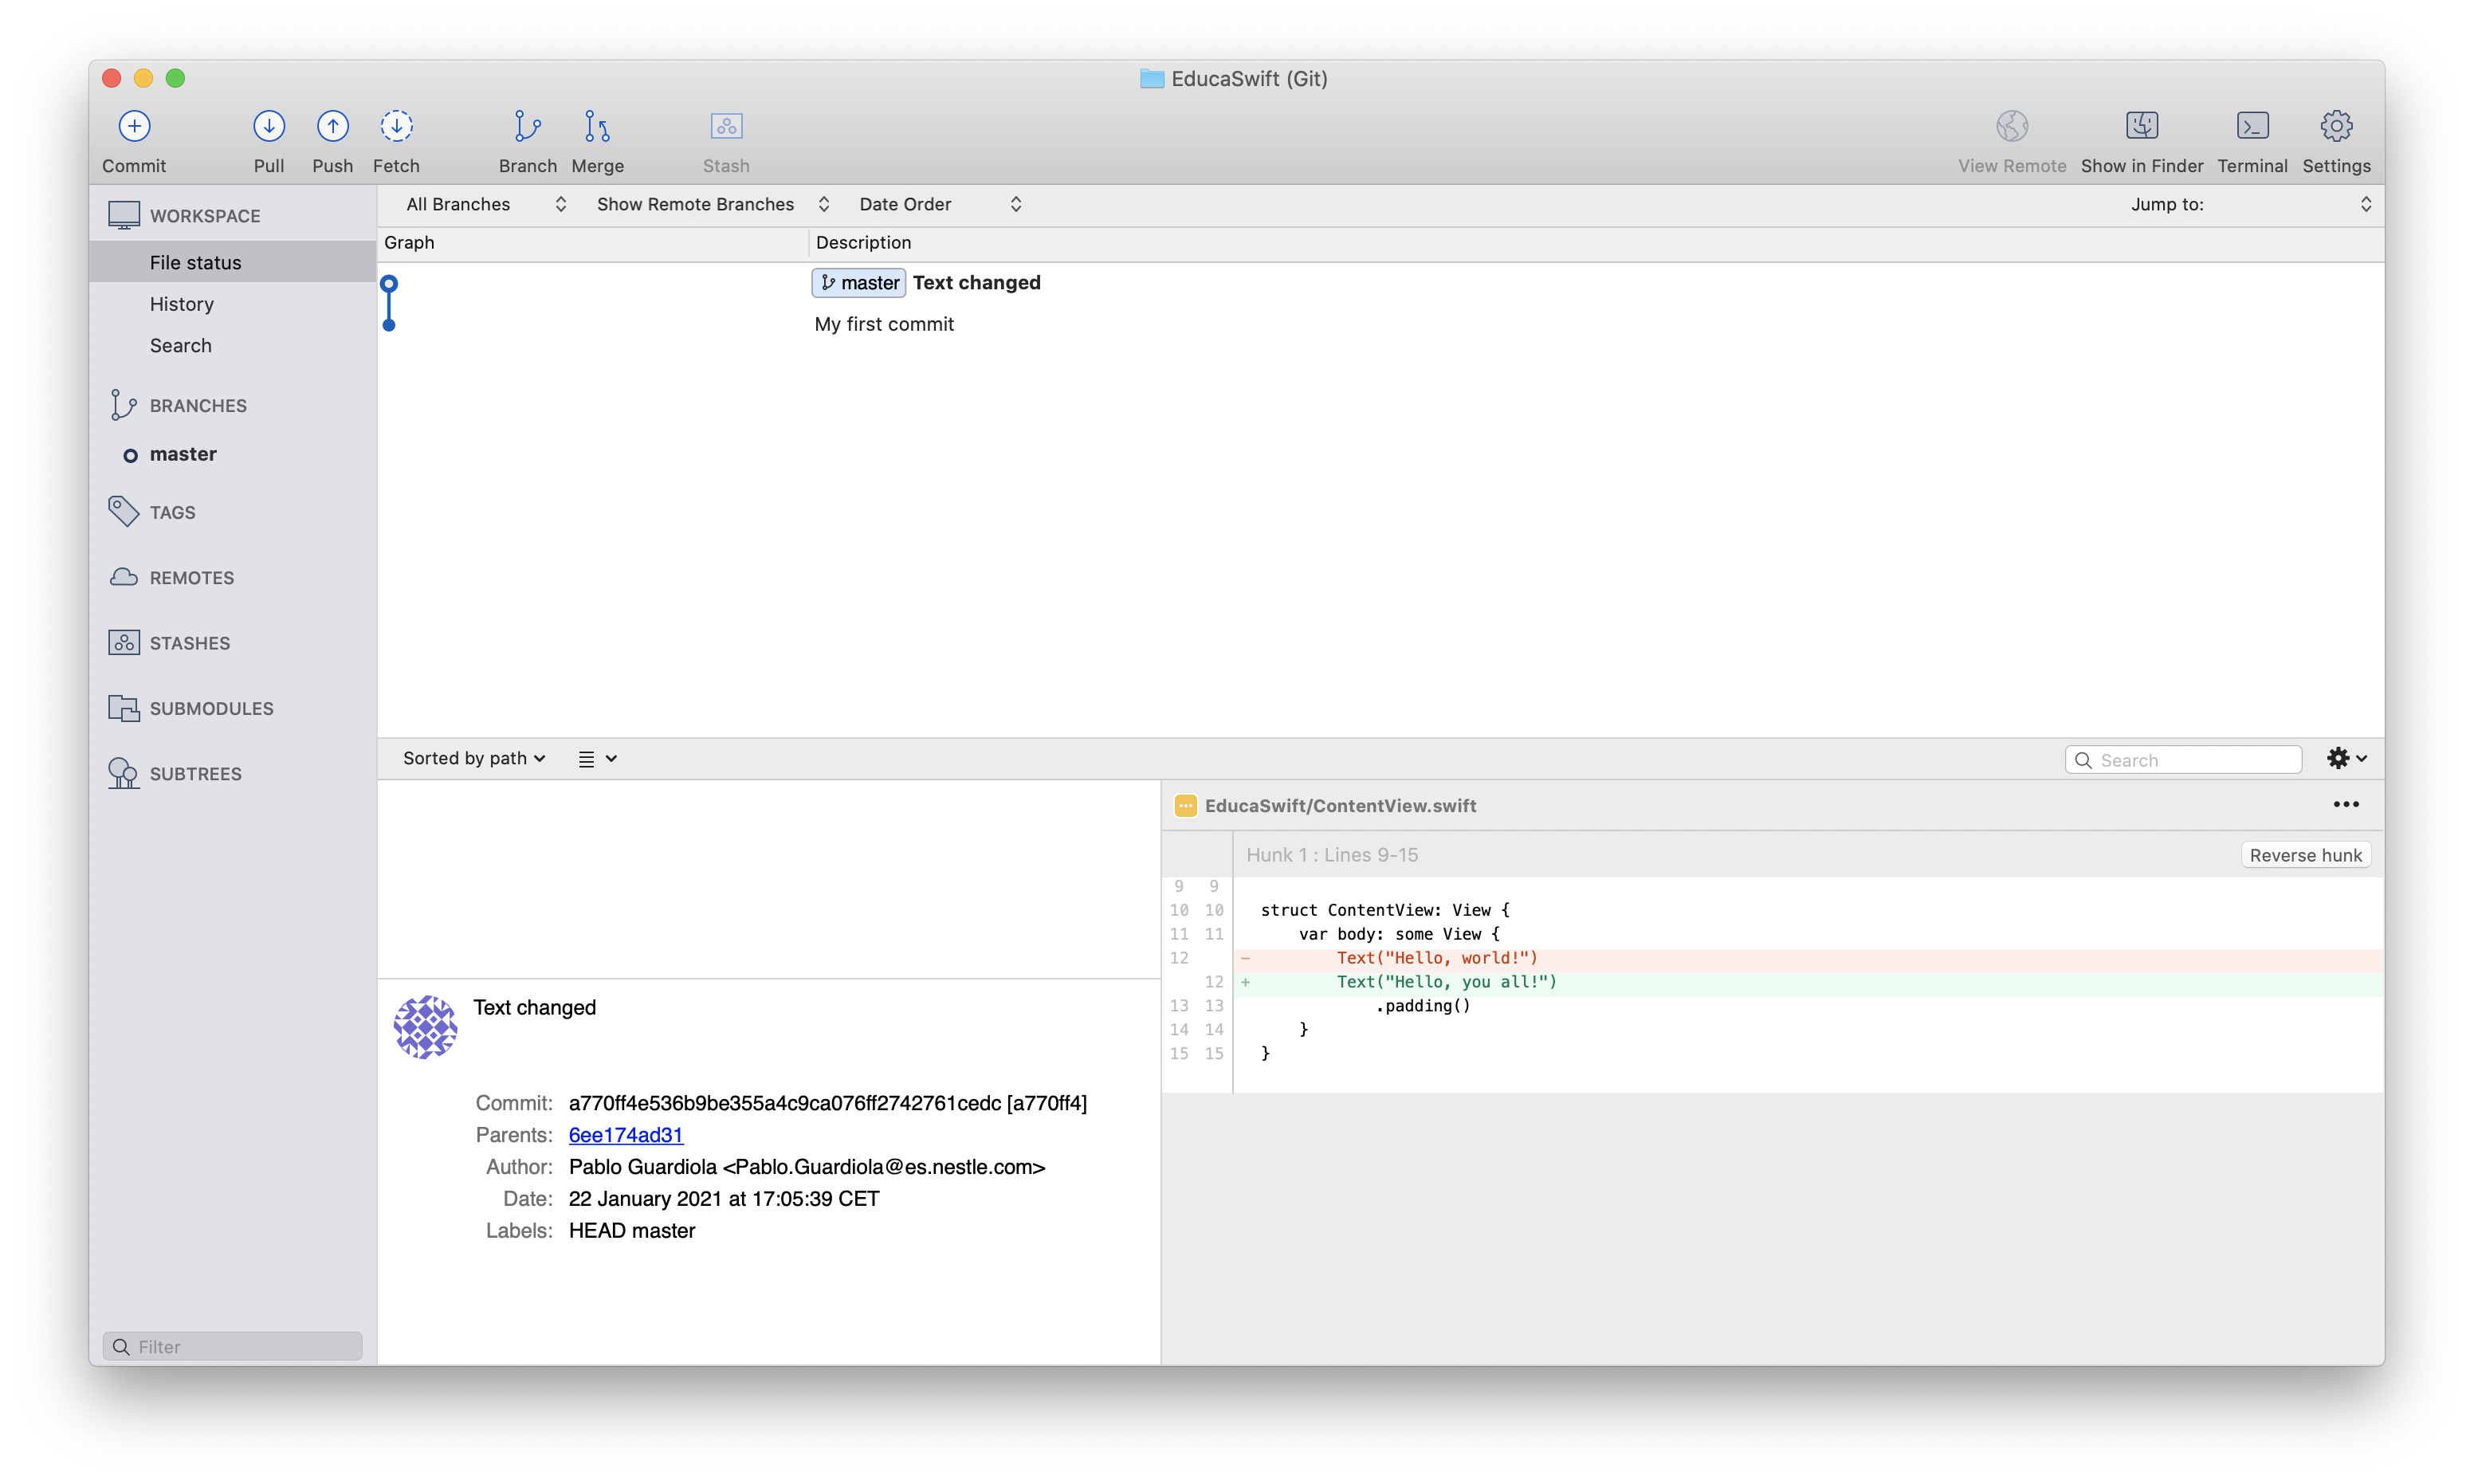
Once we’ve made our second Commit, we can see a second blue dot connected to the first as part of the history, because that's exactly what it is. Every new Commit we make will be added to this history.
Loading a previous version
If at any point you need to load a previous Commit, whether because you want to go back to a version that worked better or because you want to recover some code, all you need to do is double-click on the Commit you want to "travel" to.
If a dialog appears, you can click Confirm.
Switching between commits with uncommitted files may cause some issues. It is recommended to reset these changes (as we will see in the next section) before switching to another Commit.
As we can see, if we go back to our Xcode project, we can see that our code has returned to its initial state when the text was "Hello World!".
Undoing changes instead of creating a Commit
It’s very common to experiment with your code and, after a while, want to revert all your changes. However, when you've changed 20 files, you may not even remember what those changes were.
The advantage of using Git is that we’ll know exactly what those changes are, and we can undo them all at once, instead of manually reverting each file one by one.
Since there may be both edited and new files, and not all of them are reset the same way, these are the steps that will always work:
- Move all the files to "Staged files".
- Select them all (click on one and press CMD + A), right-click on them, and click Reset.
- If you only had edited files, this will be all. If not, some files will have automatically moved to Unstaged files. In that case, select all these files, right-click on them, and click Remove.


Be the first to comment