To create our first App we need to install the software that we'll use to start coding. Open the App Store on your Mac and download Xcode.
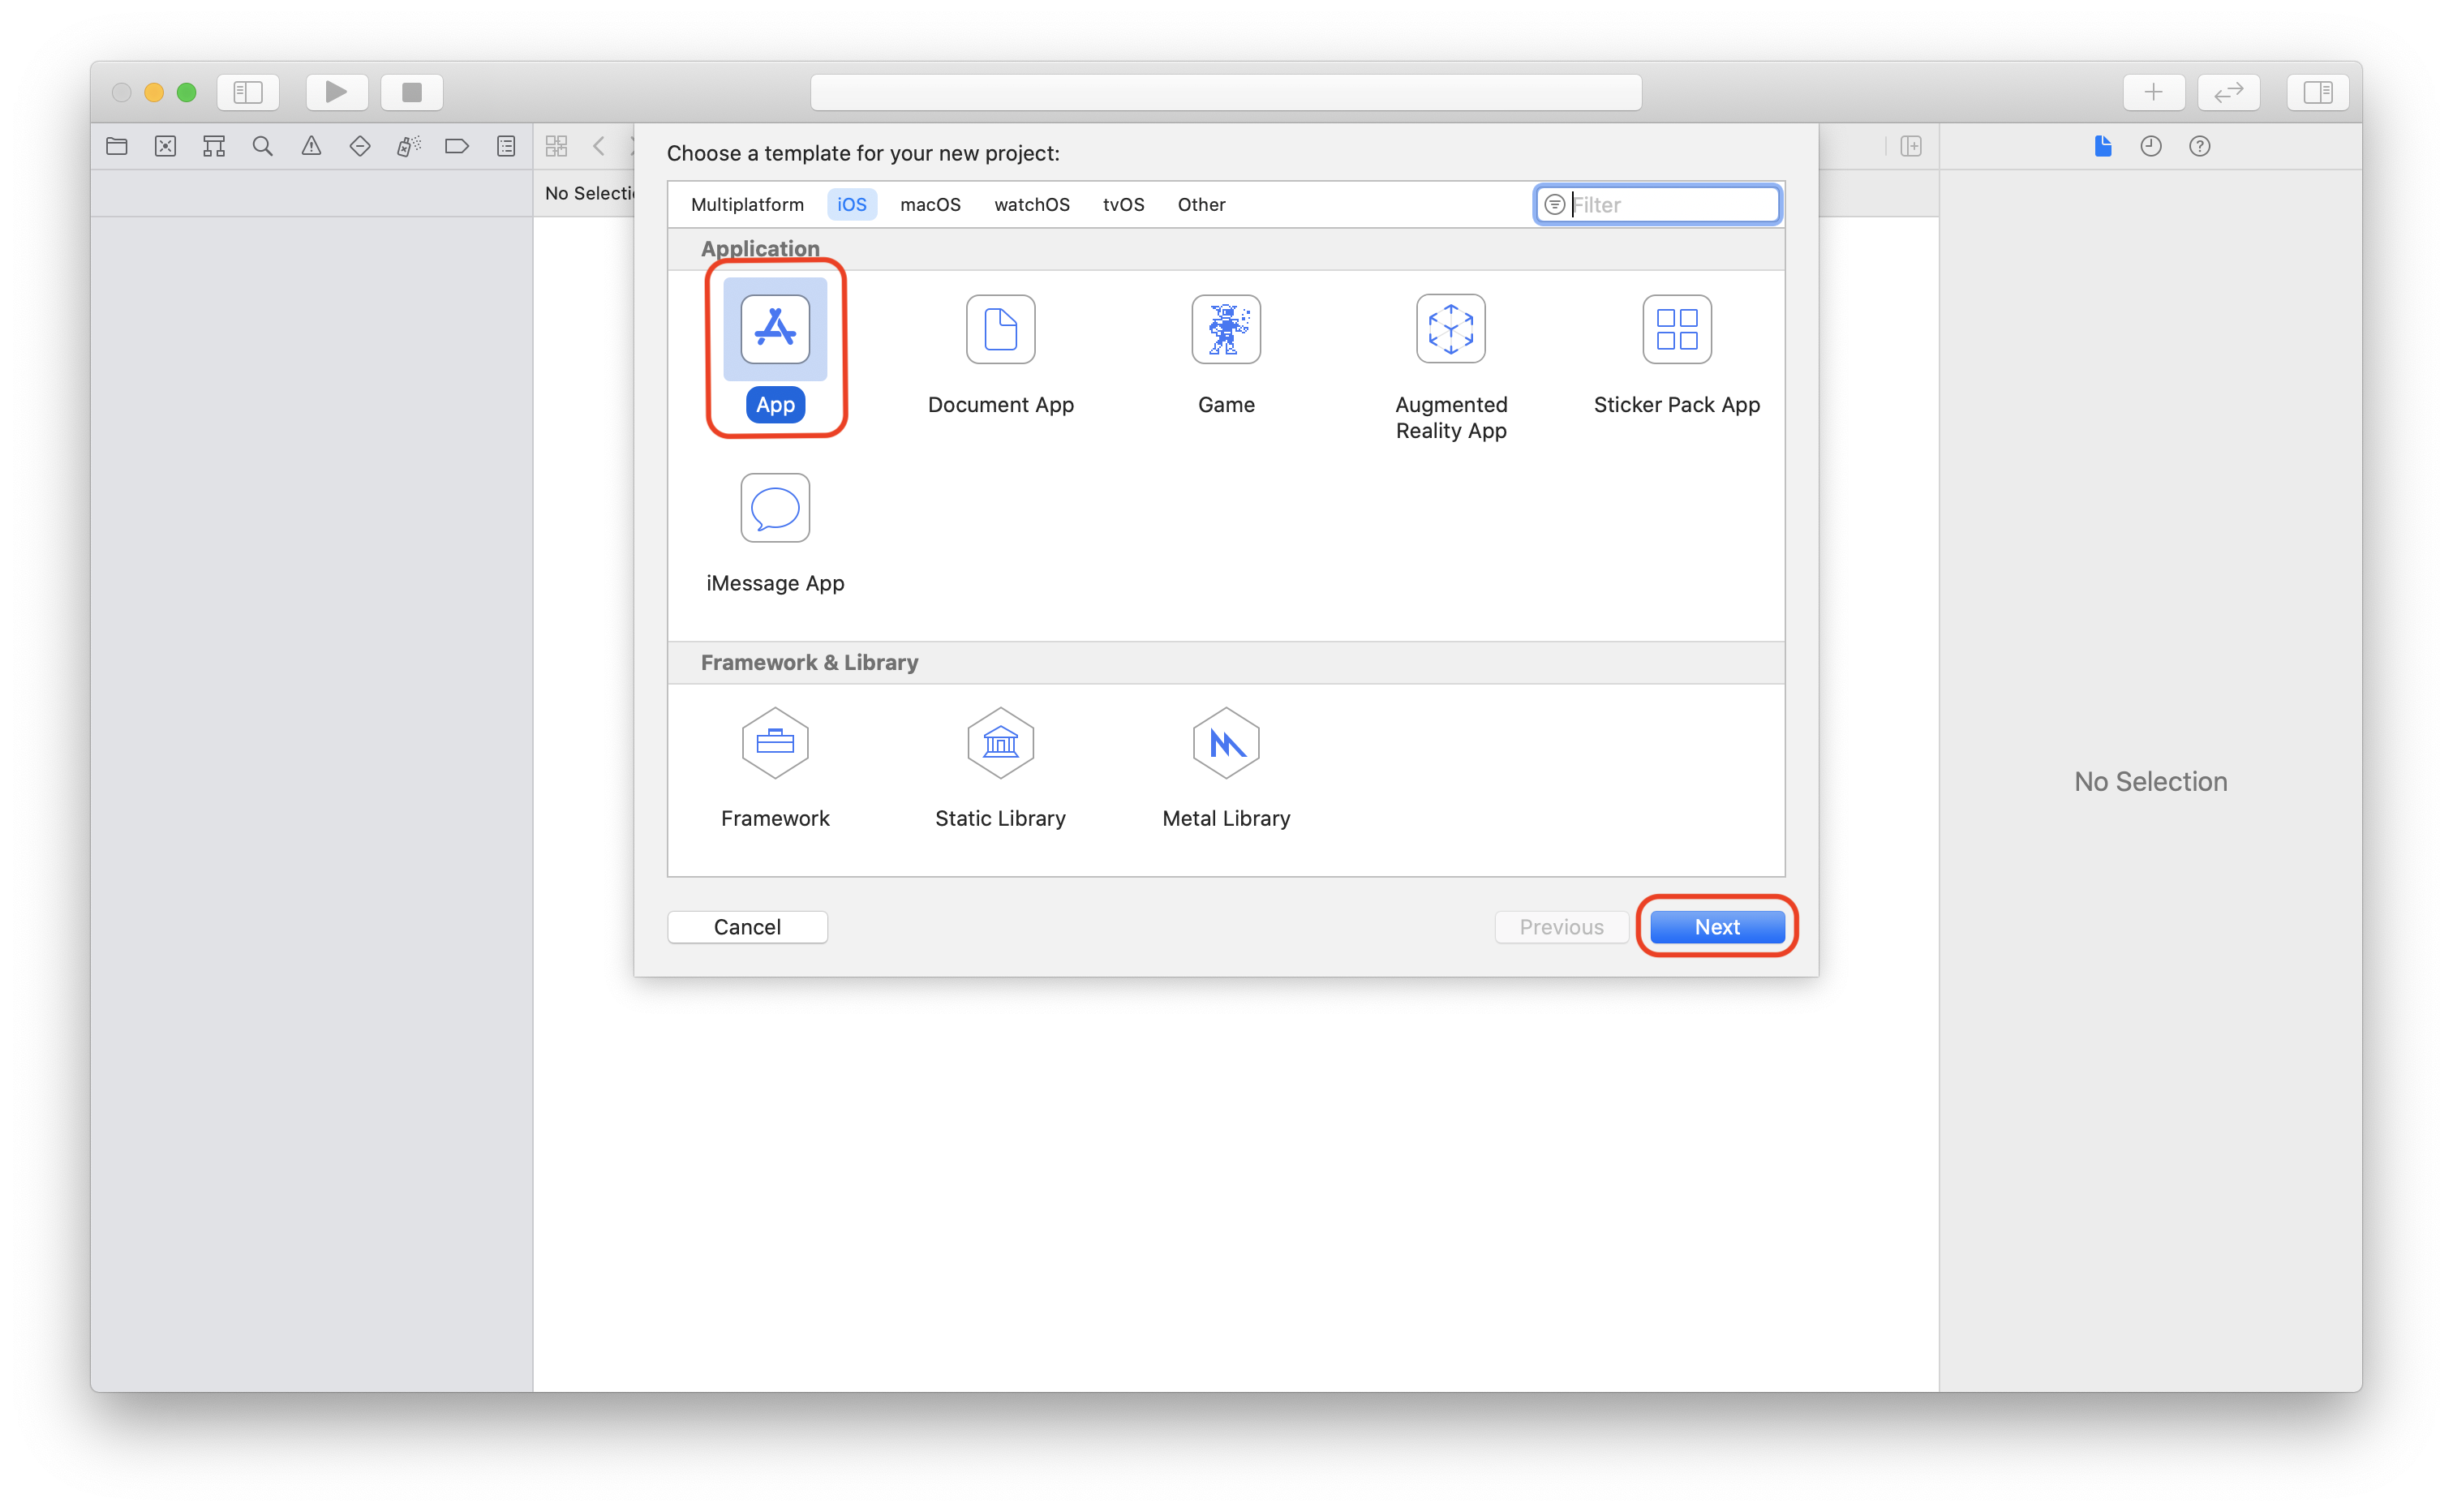
Once installed, open Xcode and click on Create New Project.
Select App on Platform section and click on Next.
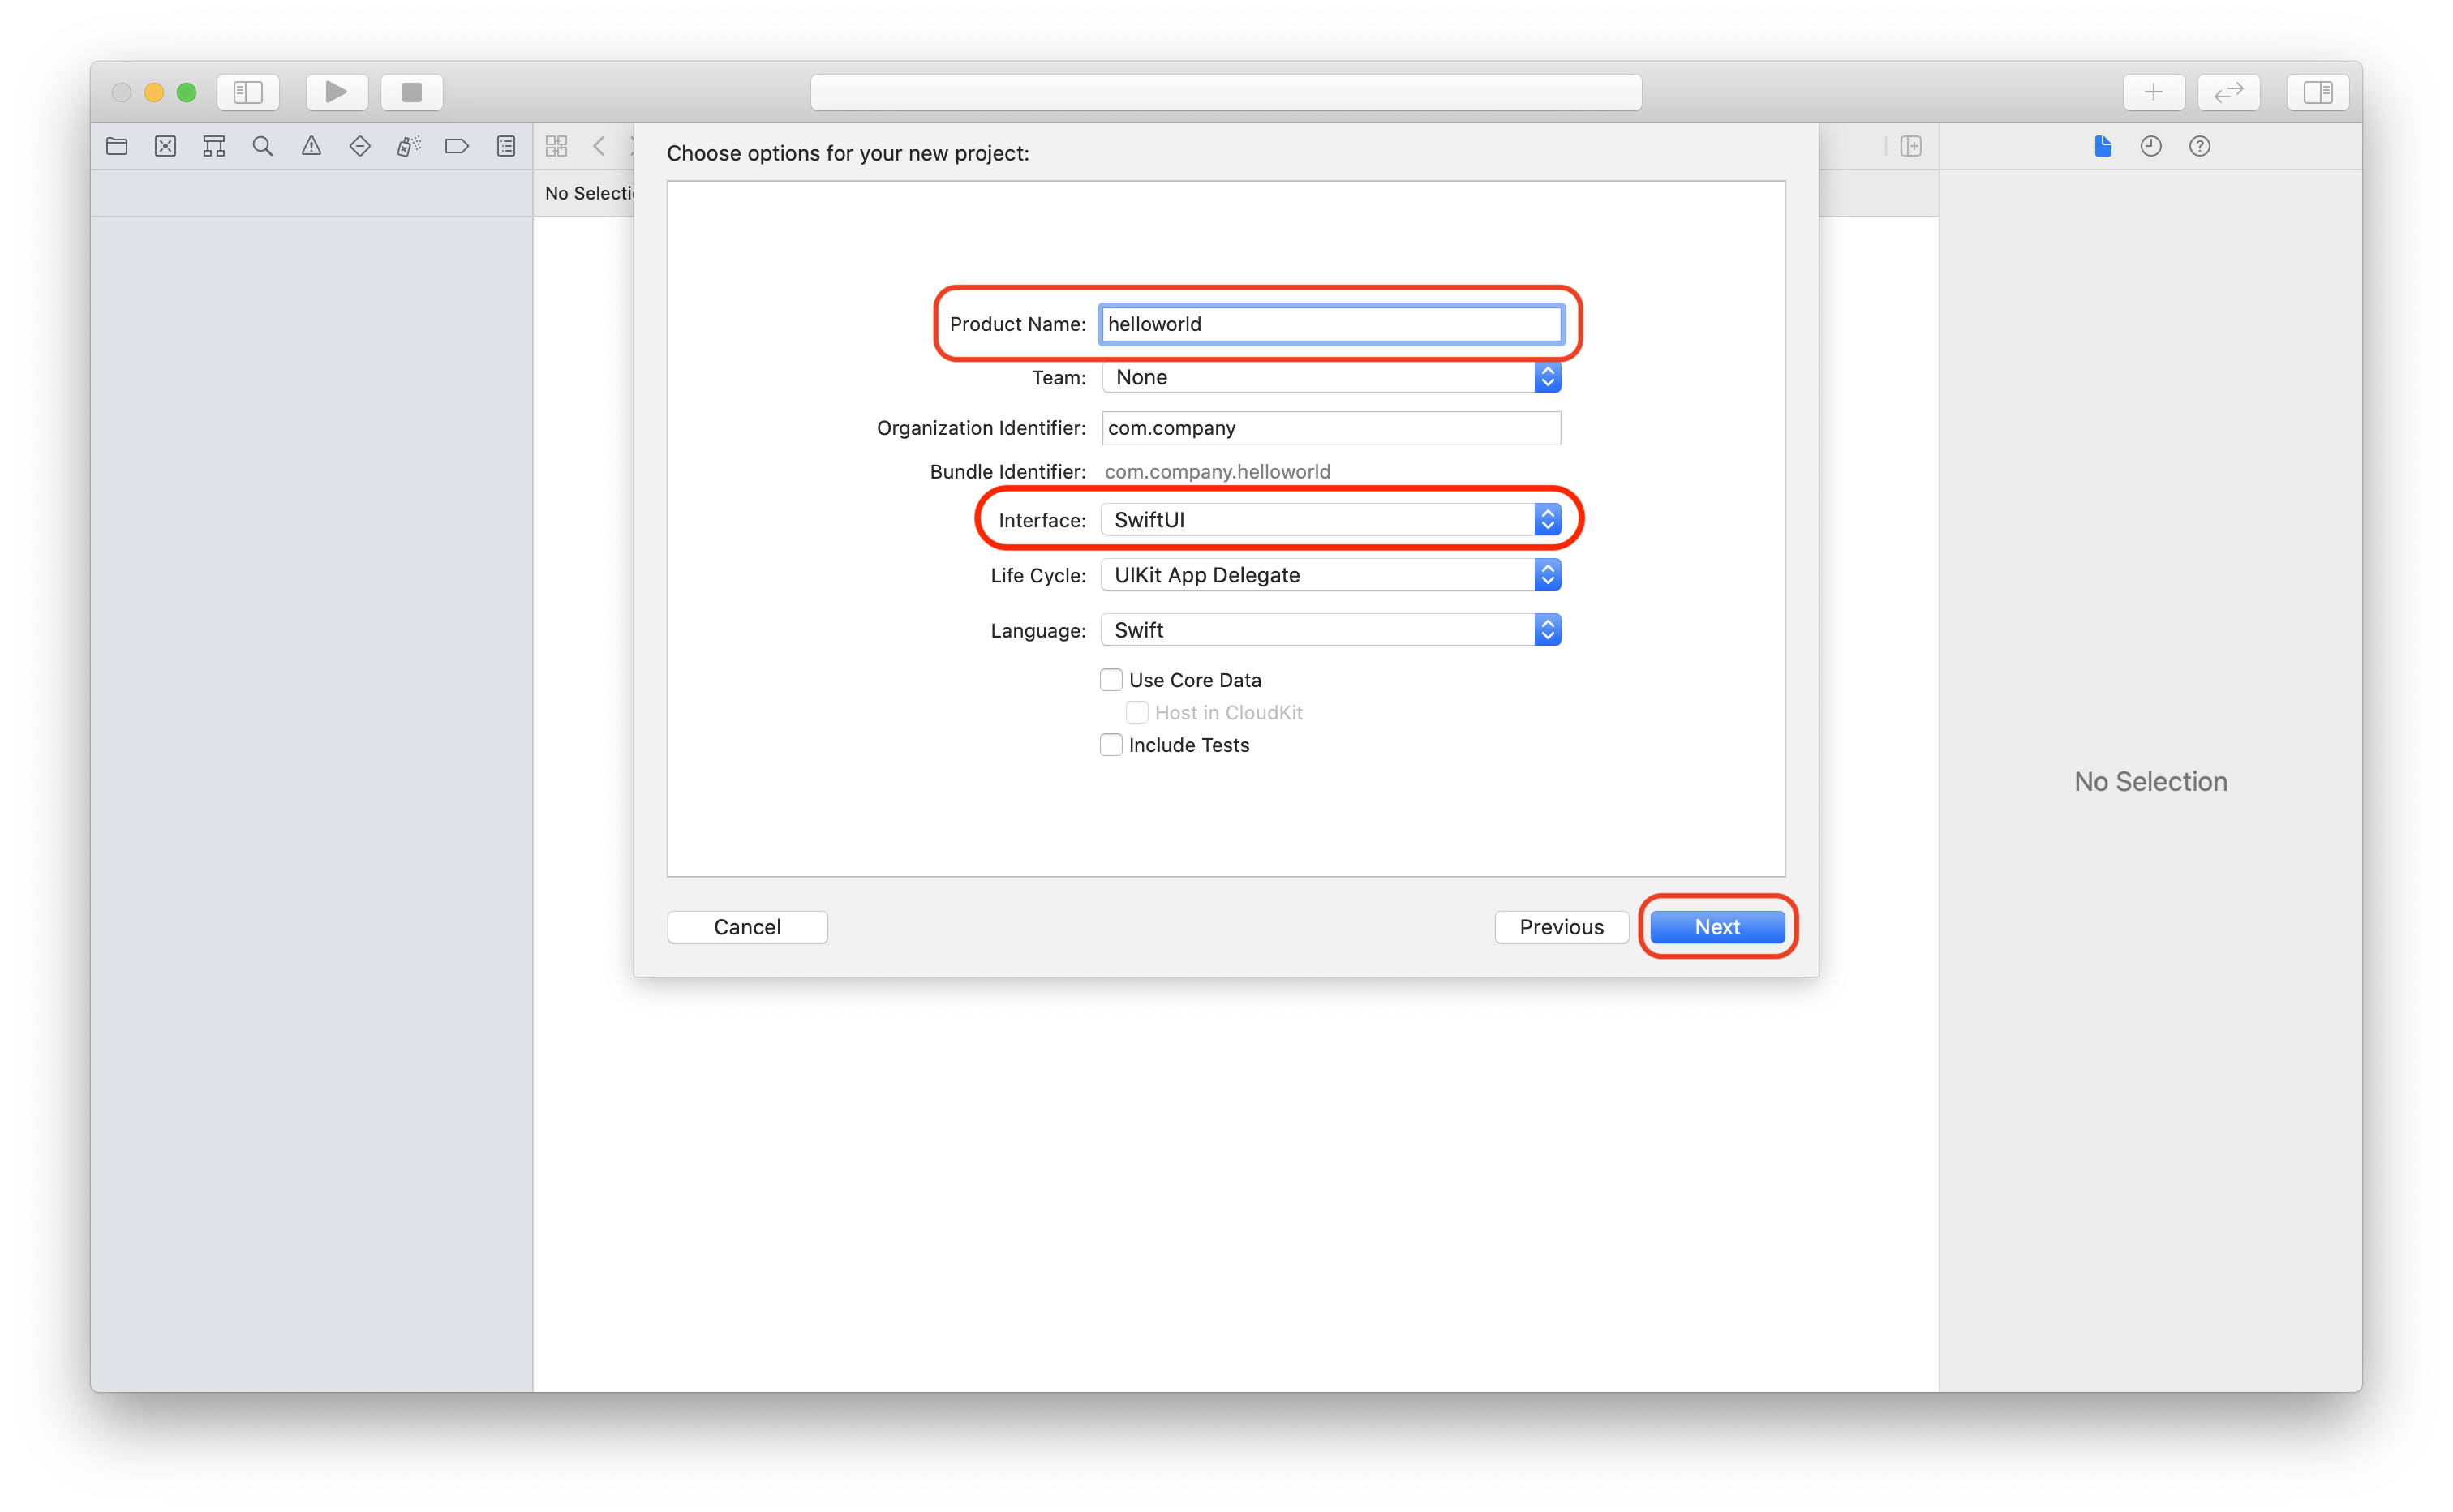
Introduce the name you'd like for the project in the field Product Name.
Select SwiftUI as Interface. You can create Apps using other interfaces, but on EducaSwift we'll focus on SwiftUI.
Click Next.
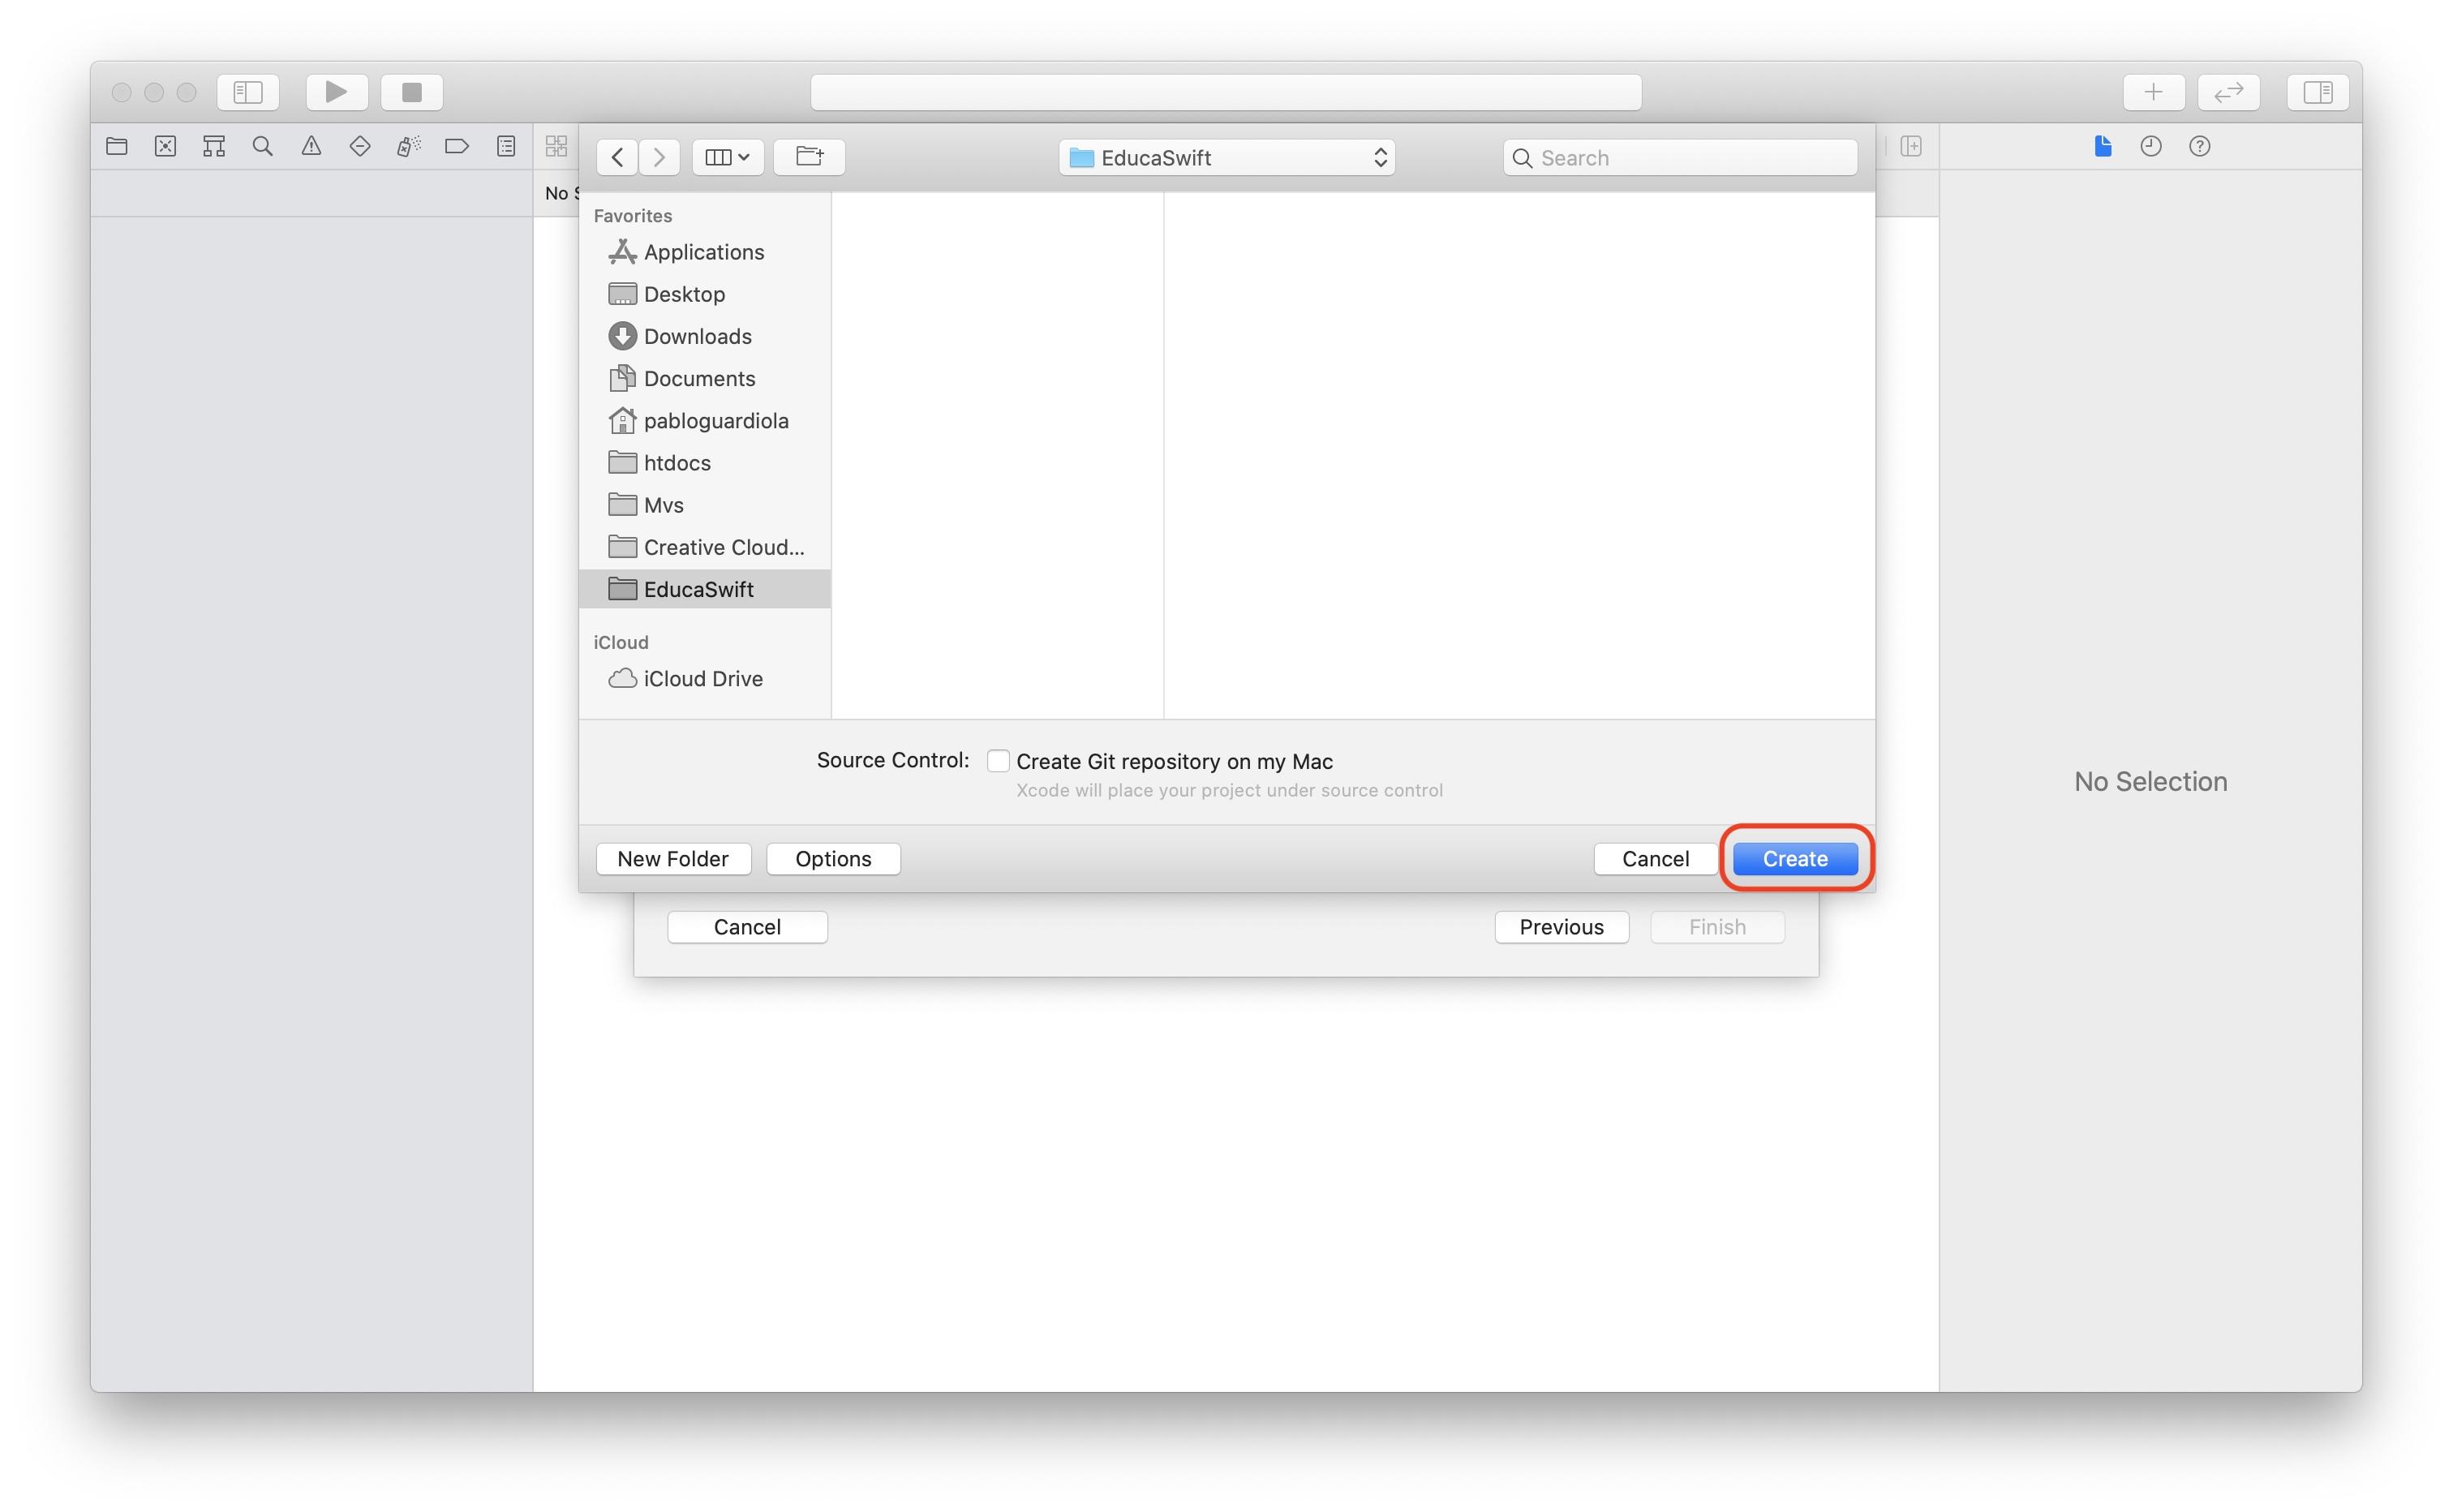
Select a folder to save your project, and click Create.
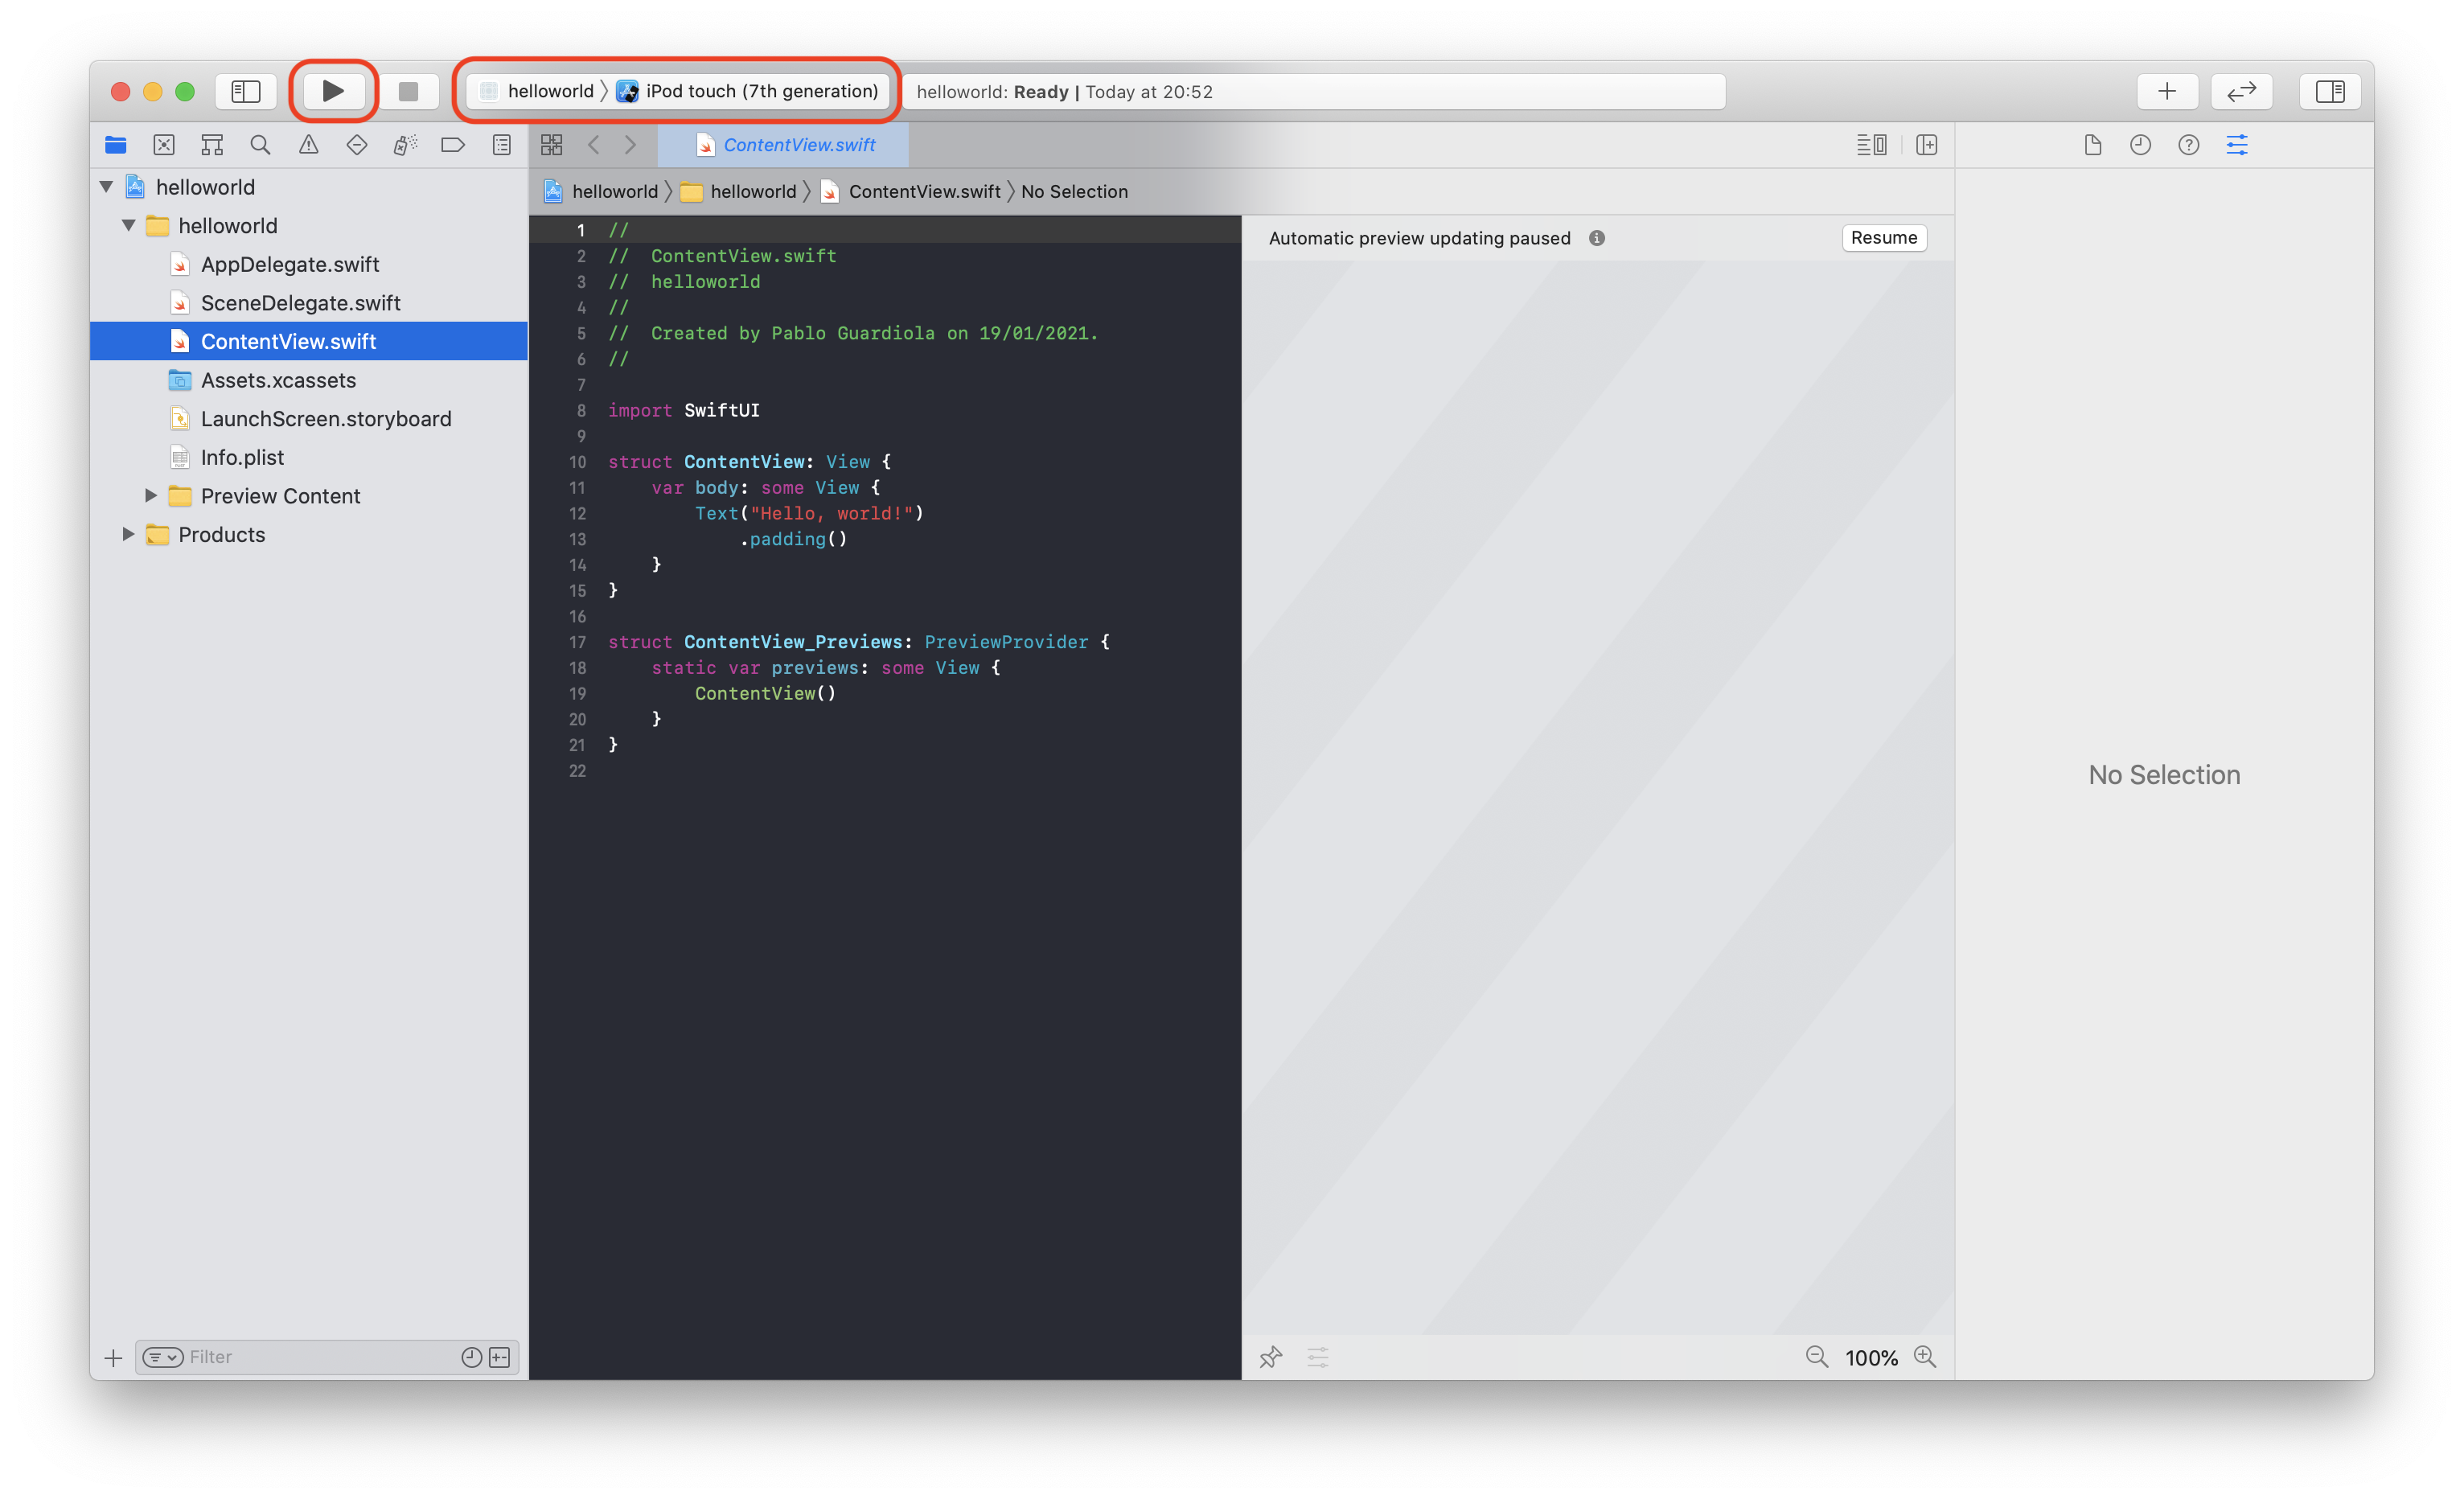
If everything went well, you should see your new project.
Running the simulator
At the top-left of the Xcode screen you can see the button Play, if you click it, your App will be launched in the simulator. Next to this button you can select the device to simulate, you can choose between different versions of iPhone and iPad.
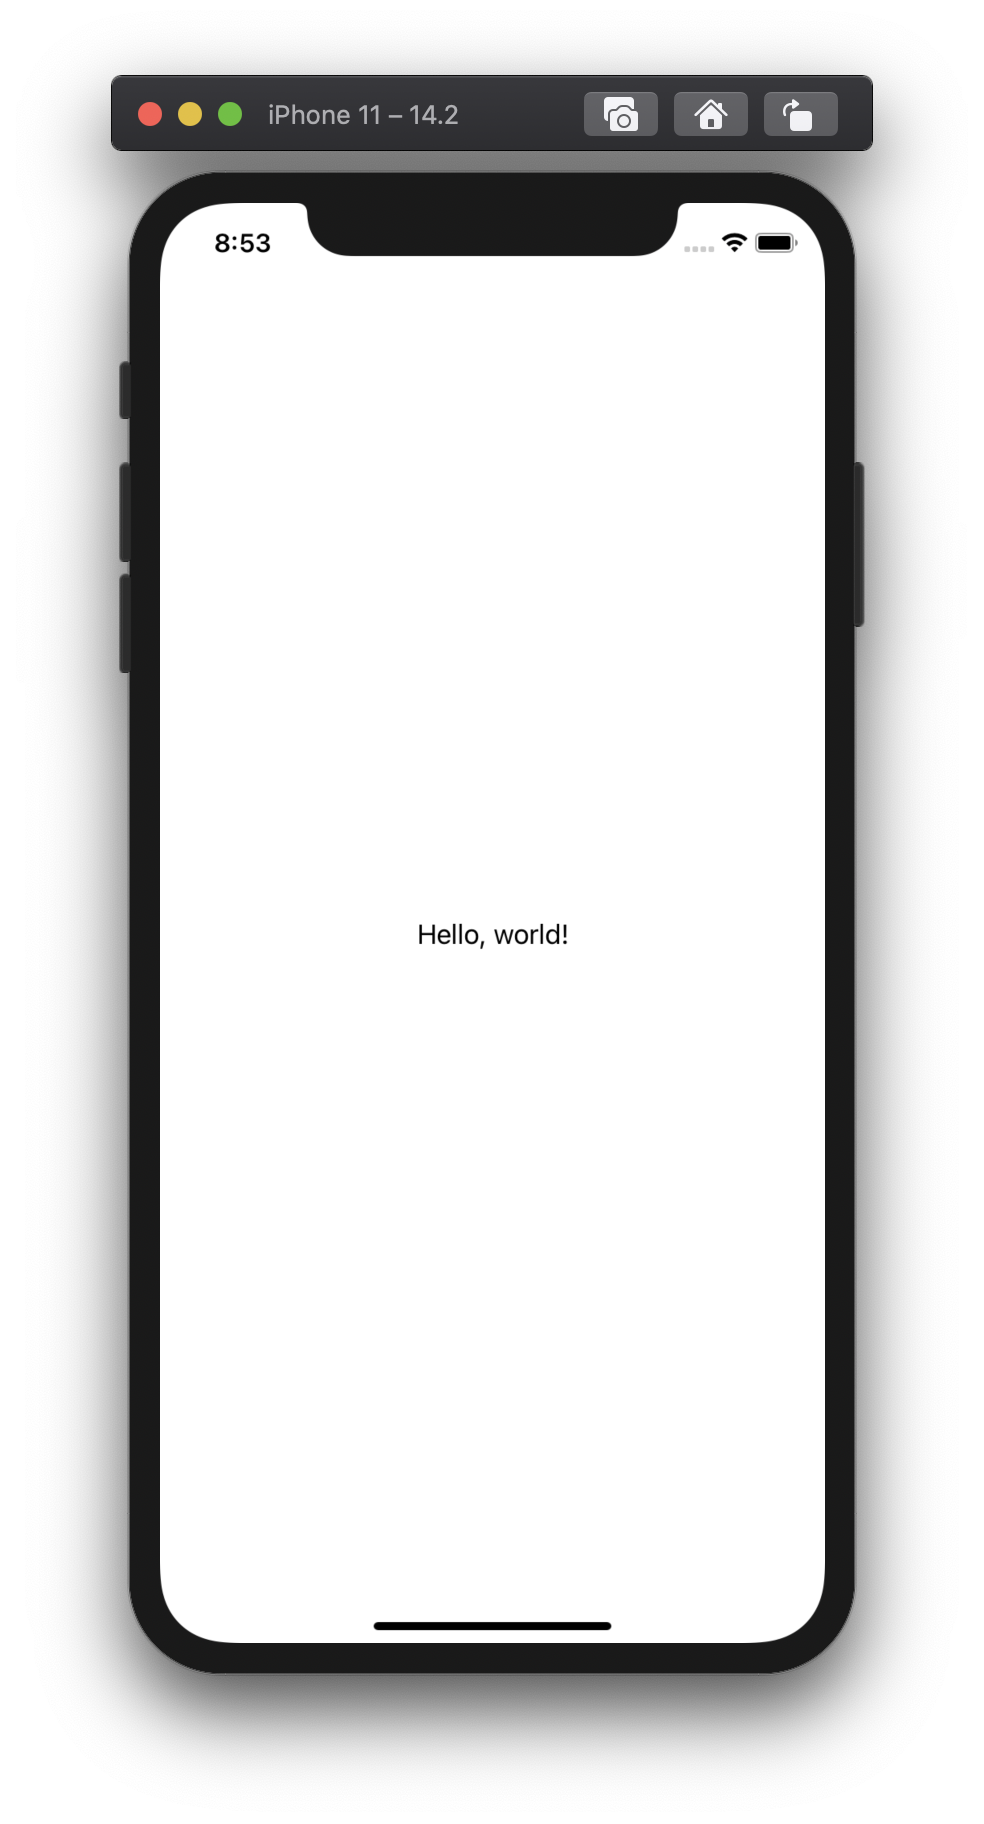
Once the simulator is runing, you should see the text Hello World at the center of the screen.


Be the first to comment