When we add new code to our app, we expect it to keep working forever. However, in medium to large projects, with multiple people working in parallel, it’s common for new features to unintentionally break others.
What Are Unit Tests?
To ensure our code works as expected, we can create Unit Tests (UTs), which run our code and check that the results are correct. This means that the more code we cover with UTs, the fewer unexpected bugs users will encounter. Before uploading our app to the App Store, we will run all our tests to verify everything is functioning correctly.
Creating a Unit Test
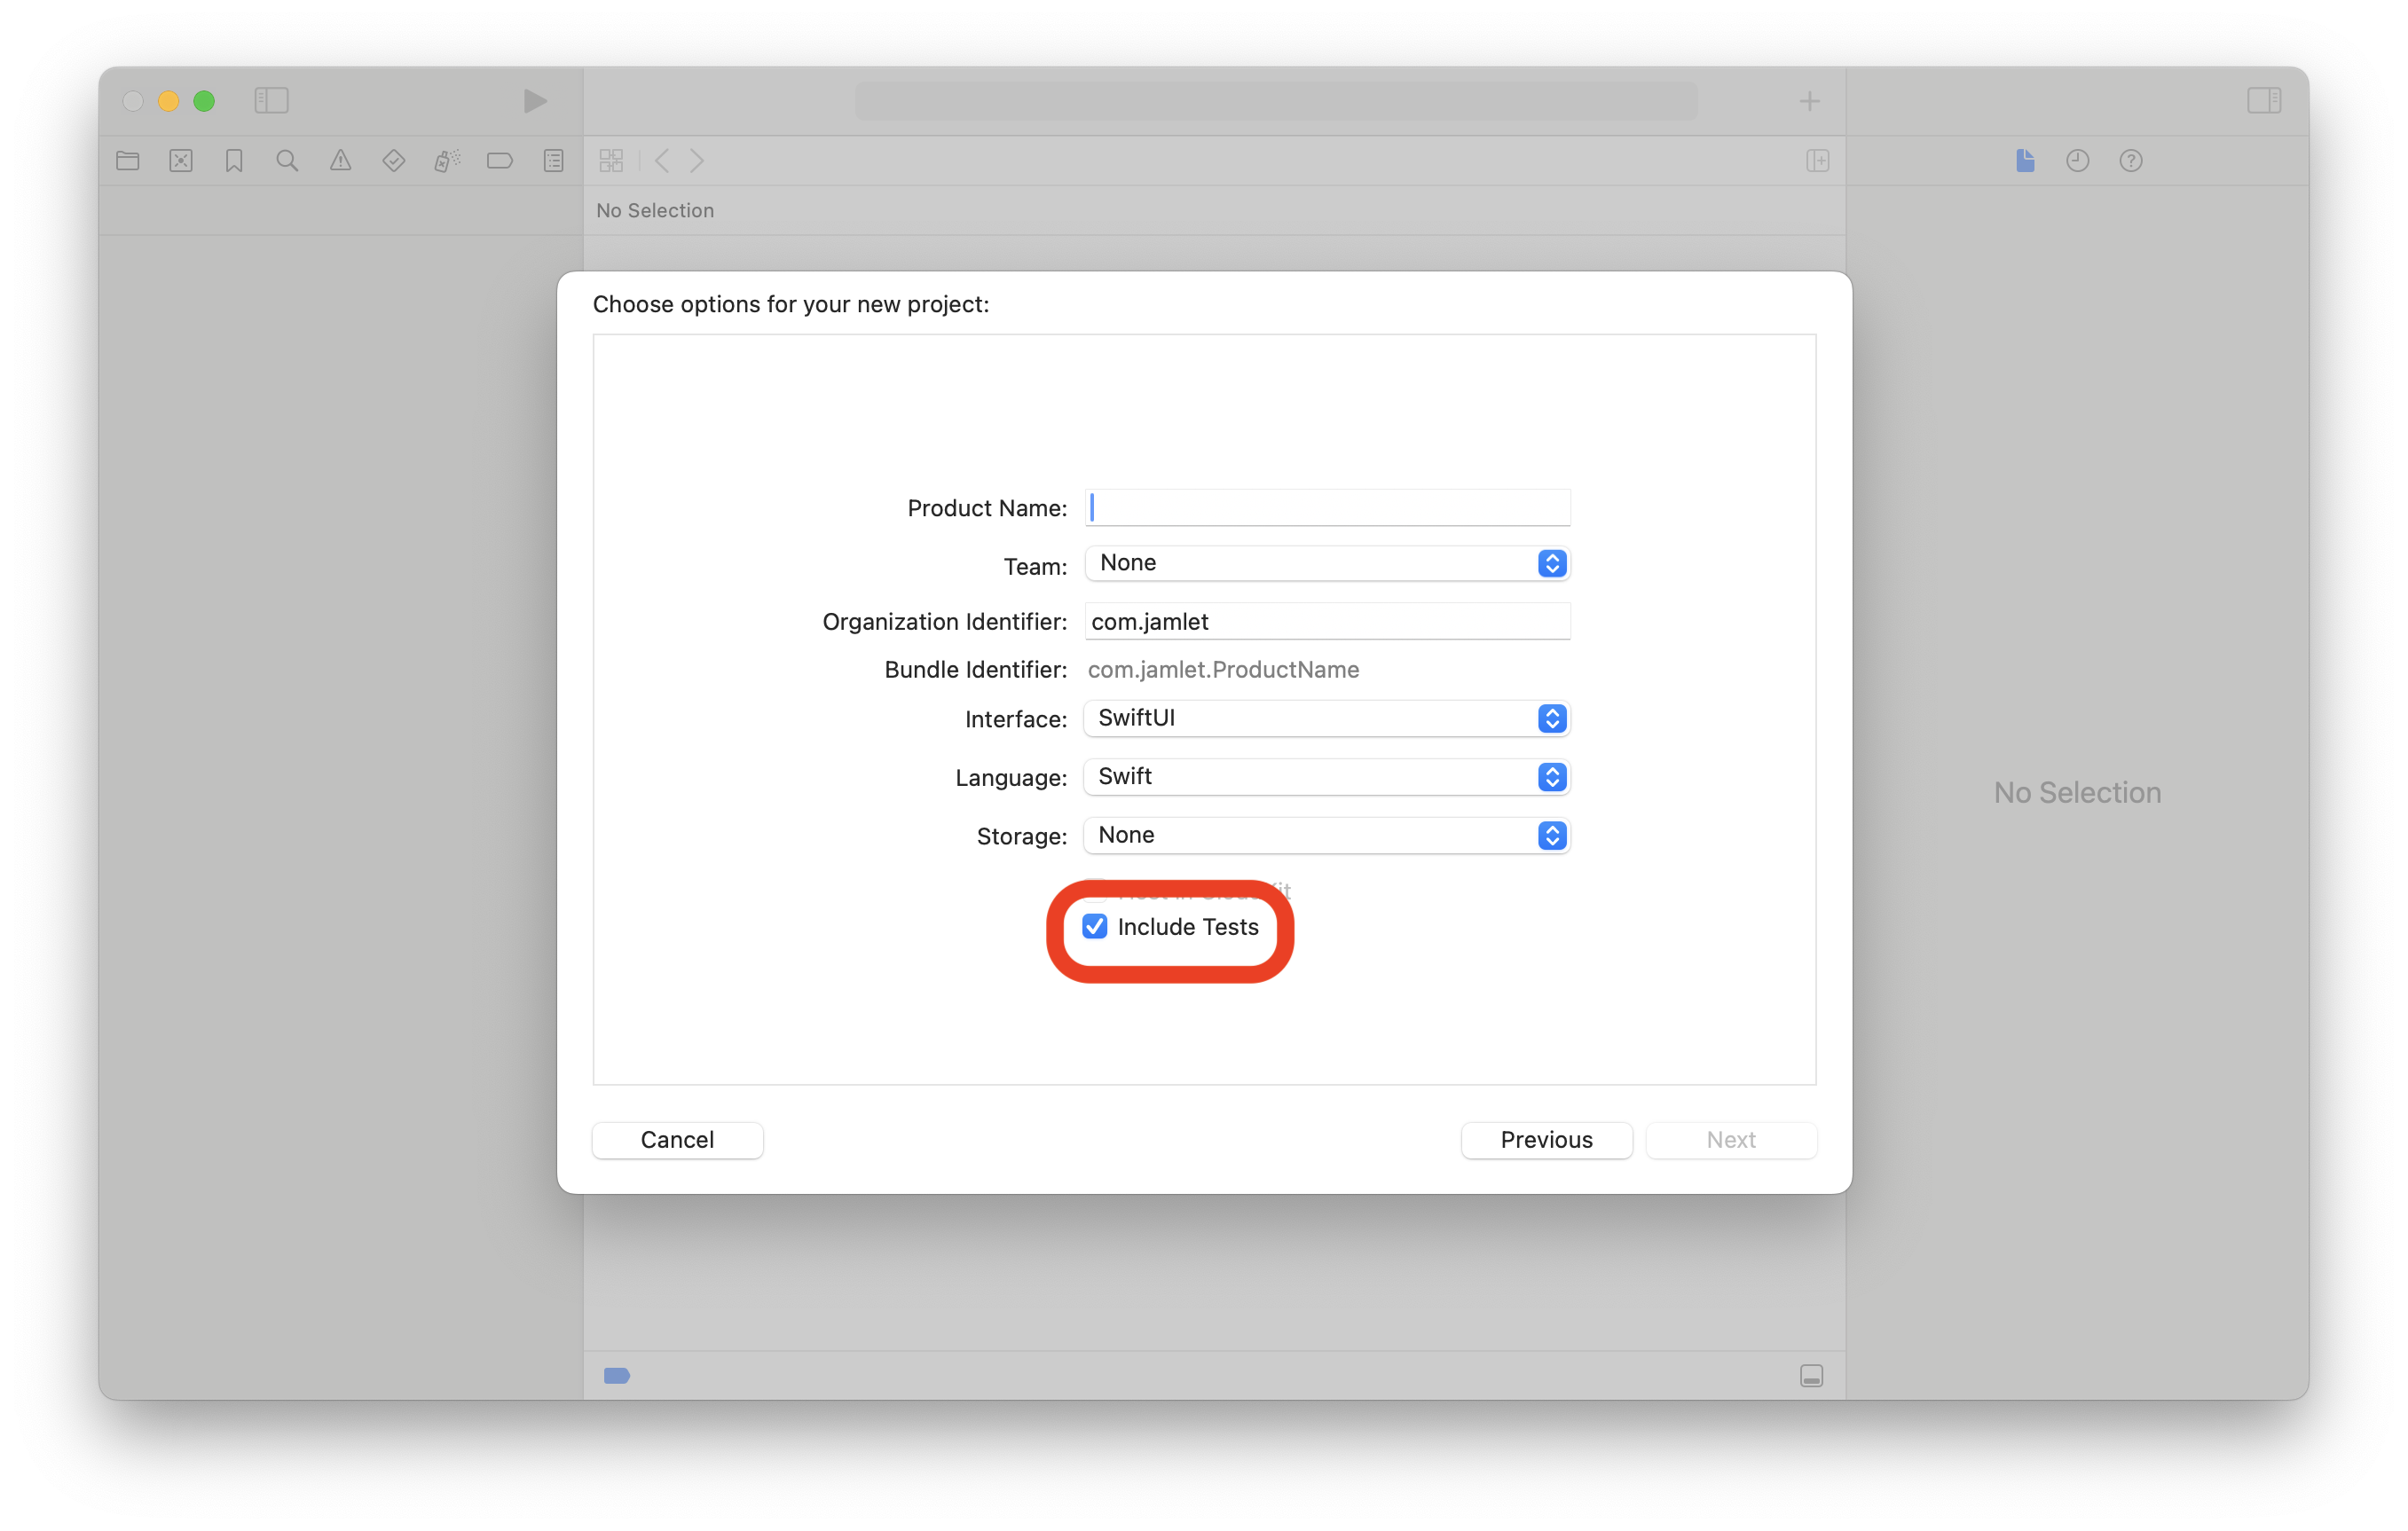
First we will enable unit tests in our project by checking the Include Tests box when creating the project.
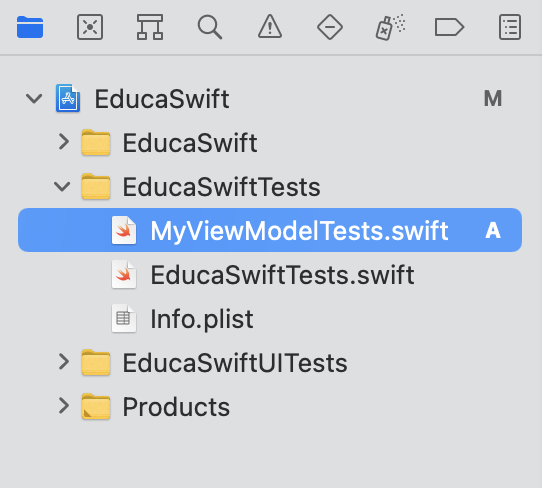
File > New > Target in order to add a Unit Testing Bundle.
In this example, we will test a small part of our code: a function in our ViewModel that returns the square of a number.
@Observable
class MyViewModel {

    func getSquare(number: Int) -> Int {
        number * number
    }
}
To test our viewmodel we’ll create the MyViewModelTests.swift file in the EducaSwiftTests folder (this folder's name will depends on your project’s name).
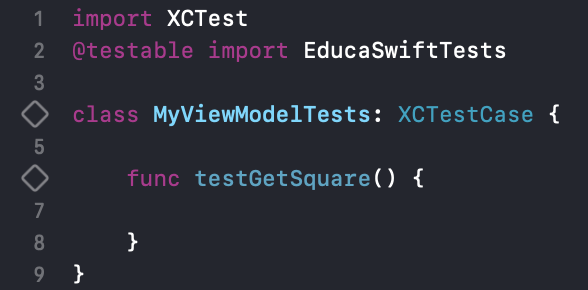
We’ll import the XCTest framework and our project (to access the classes we’ve created) marked as @testable. Then we’ll create our MyViewModelTests class and the function that will run our test, testGetSquare.
import XCTest
@testable import EducaSwift // Yout project's name

class MyViewModelTests: XCTestCase {

    func testGetSquare() {

    }
}
testGetSquare() will include only one getSquare() test, this is why is called Unit Test. If you need to do more tests, just add more.
Each test function must start with test. This will make a small diamond icon appear next to our class and the functions we create.
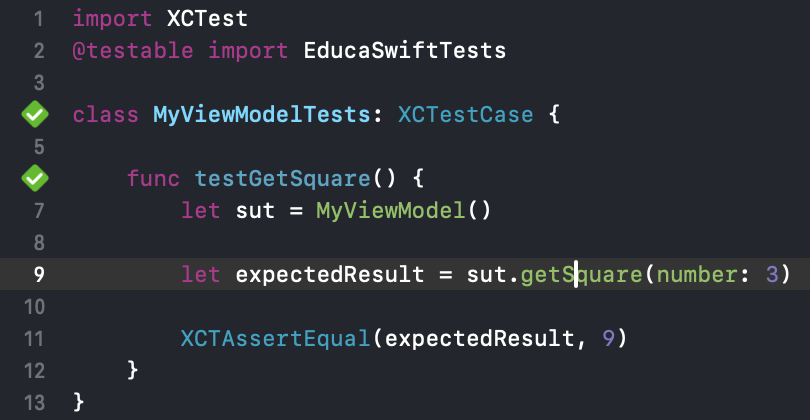
Finally, we’ll add the code to test our function.
func testGetSquare() {
    let sut = MyViewModel()

    var expectedResult = sut.getSquare(number: 3)

    XCTAssertEqual(expectedResult, 9)
}
sut is a very common abbreviation of System Under Test used to identify what we are testing easily.
The XCTAssertEqual function checks whether the result we obtained matches the expected result. The test passes if they match.
Some commonly used functions are:
- XCTAssertTrue: Checks that the value is true.
- XCTAssertFalse: Checks that the value is false.
- XCTAssertNil: Checks that the value is nil.
- XCTAssertNotNil: Checks that the value is not nil.
- XCTAssertGreaterThan: Checks that the value is greater than another value.
- XCTAssertLessThanOrEqual: Checks that the value is less than or equal to another value.
Running Our Test
To run our test, select one of the simulators and click on one of the small diamonds that have appeared next to the name of our class or function. The first one runs all the tests in the class, and the second one runs only the specific unit test.
If everything goes well, you’ll see green check marks.
Why Use UTs?
Imagine that another developer changes the code of our function and instead of multiplying the parameter, they add it, which would cause bugs in certain parts of our app.
@Observable
class MyViewModel {

    func getSquare(number: Int) -> Int {
        number + number
    }
}
As soon as we run our test, it will fail, and we’ll know something went wrong.


Be the first to comment