Apple provides us with the ability to show alerts to the user even when our App has been closed. In this article, we will see how to create local notifications, which are scheduled notifications created from our App at a specific time.
To display alerts, we need to follow two steps:
- Request permission from the user.
- Create a notification.
Requesting Permission from the User
To show notifications to the user, it is necessary to ask for his permission. We can ask for permission at any point in our code using UNUserNotificationCenter.
import UserNotifications

UNUserNotificationCenter.current().requestAuthorization(options: [.alert, .badge, .sound]) { success, error in
    if success {
        print("Permissions granted")
    } else if let error = error {
        print(error.localizedDescription)
    }
}
This request is made using the UserNotifications framework, where we include the options alert, badge, and sound. This framework handles showing the necessary UI to the user to accept these permissions. Once the user responds, the closure will be executed.
Creating a Notification
When creating a notification, we have two options to specify when it will be triggered. We can either specify how many seconds from now it will be triggered, or we can set a specific date.
For this example, we have created a button that will create our notification.
Using TimeInterval
To create a notification, we need to define the title, subtitle, sound, and the time it will take to be triggered. Once defined, we create a UNNotificationRequest with a unique identifier and add it to the UNUserNotificationCenter.
import SwiftUI
import UserNotifications

struct ContentView: View {
    var body: some View {
        Button {
            createNotification()
        } label: {
            Text("Create notification")
        }
        .onAppear {
            askForPermissions()
        }
    }

    func askForPermissions() {
        UNUserNotificationCenter.current().requestAuthorization(options: [.alert, .badge, .sound]) { success, error in
            if success {
                print("Permissions granted")
            } else if let error = error {
                print(error.localizedDescription)
            }
        }
    }

    func createNotification() {
        let content = UNMutableNotificationContent()
        content.title = "Drink water"
        content.subtitle = "It's time to drink a glass of water"
        content.sound = UNNotificationSound.default

        // The notification will appear in 3 seconds
        let trigger = UNTimeIntervalNotificationTrigger(timeInterval: 3, repeats: false)

        let request = UNNotificationRequest(identifier: UUID().uuidString, content: content, trigger: trigger)

        UNUserNotificationCenter.current().add(request)
    }
}

#Preview {
    ContentView()
}
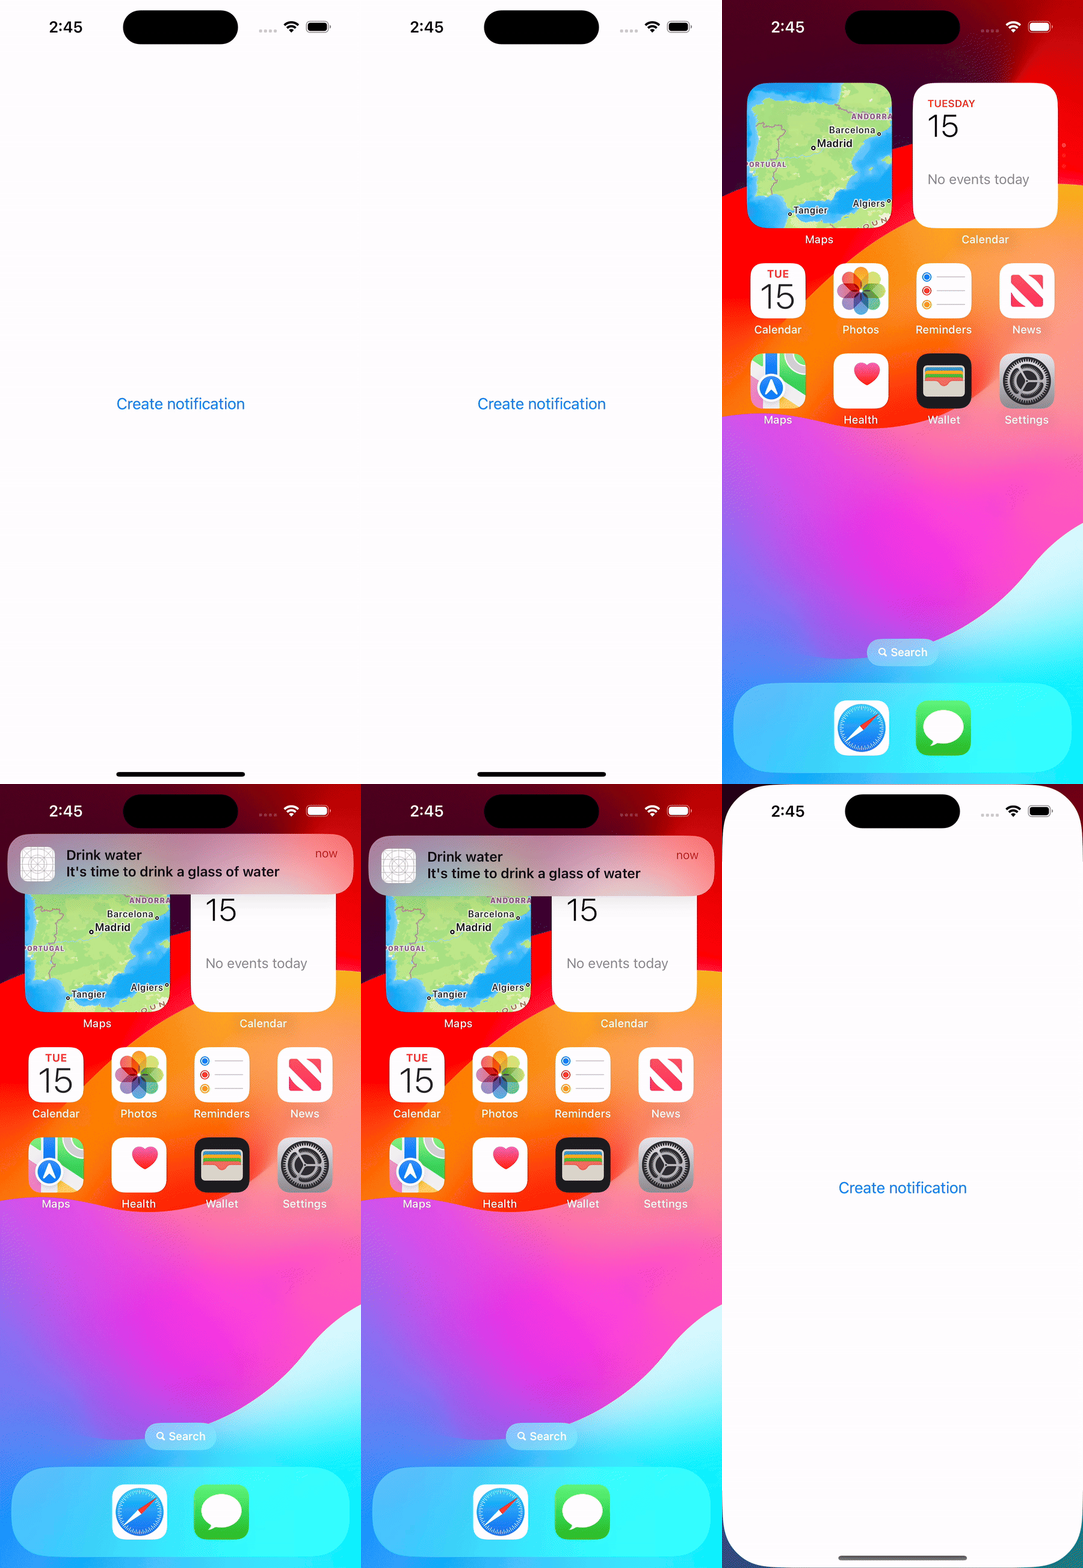
To see the notification, you need to exit the App.
Using the Calendar
To schedule a notification at a specific date, the only thing we need to do differently is use UNCalendarNotificationTrigger as the trigger, where we will specify the date using a DateComponents object.
let content = UNMutableNotificationContent()
content.title = "Drink water"
content.subtitle = "It's time to drink a glass of water"
content.sound = UNNotificationSound.default

let dateComponents = DateComponents(year: 2025, month: 2, day: 14, hour: 0, minute: 12)
let trigger = UNCalendarNotificationTrigger(dateMatching: dateComponents, repeats: false)

let request = UNNotificationRequest(identifier: UUID().uuidString, content: content, trigger: trigger)

UNUserNotificationCenter.current().add(request)
Displaying the Notification While the App is Open
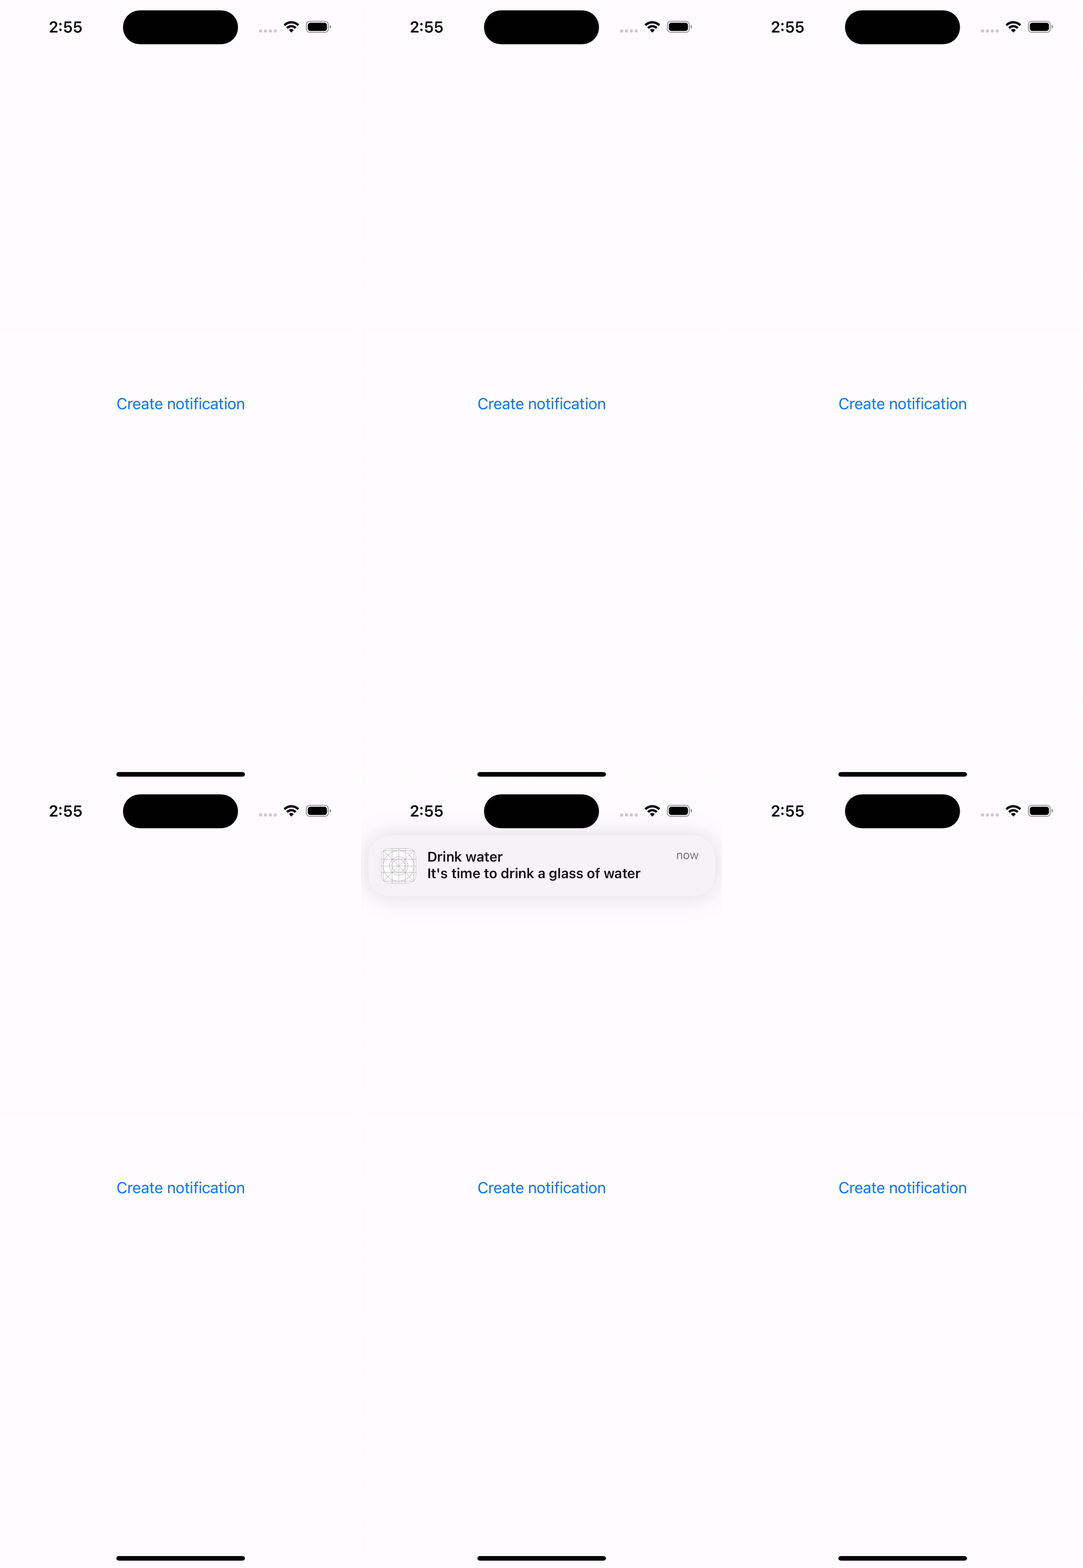
As you may have noticed, notifications only appear when the App is not in the foreground. But this can be enabled implementing UNUserNotificationCenterDelegate, we can do this in two steps:
Create NotificationDelegate class and implement UNUserNotificationCenterDelegate.
import Foundation
import SwiftUI

class NotificationDelegate: NSObject, UNUserNotificationCenterDelegate {
    func userNotificationCenter(_ center: UNUserNotificationCenter, willPresent notification: UNNotification) async -> UNNotificationPresentationOptions {
        return [.banner, .badge, .sound]
    }
}
Set the delegate from your App main file.
@main
struct EducaSwiftApp: App {

    private var notificDelegate: NotificationDelegate = NotificationDelegate()

    init(){
        UNUserNotificationCenter.current().delegate = notificDelegate
    }

    var body: some Scene {
        WindowGroup {
            ContentView()
        }
    }
}


Be the first to comment