In previous articles, we’ve explored how to better organize our views using Computed Variables or functions. This is great for smaller parts of a view (like a button, text, or a list). However, if we need to display more complex components, consisting of many subcomponents, or even an entire screen, it’s better to create another file.
While this is not strictly necessary, since technically we could keep all the code for our app in a single file, doing this provides several advantages:
- Your app’s code will be better structured, making it easier to navigate between files and find what you need.
- Keeping each file small will make the code easier to read.
- Each file can be reused across multiple views, avoiding code duplication.
Creating a File
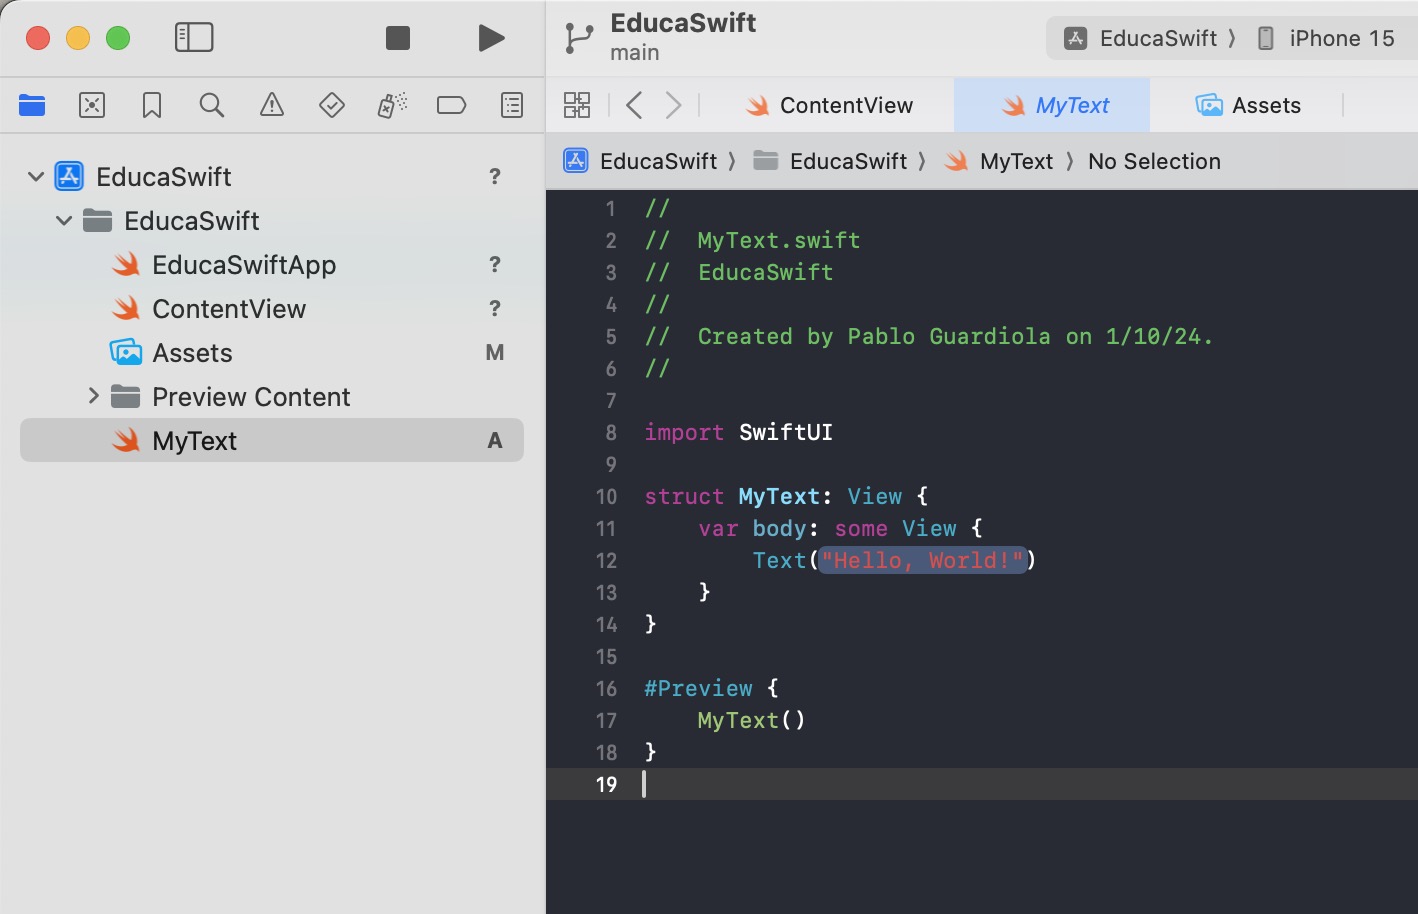
We can create a new file by right-clicking the folder of our project and selecting New File....
In the dialog that appears, select SwiftUI View -> Next, assign a name (in my case, MyText), and click Create to finish.
The result is a new view where we can add elements within the body.
var body: some View {
    Text("Hello, World!")
        .font(.headline)
        .foregroundStyle(.white)
        .frame(width: 250, height: 50)
        .background(.green)
        .cornerRadius(20)
}
Using Our New View
We can use MyText just like any other component, for example, from within ContentView:
import SwiftUI

struct ContentView: View {
    var body: some View {
        MyText()
    }
}

#Preview {
    ContentView()
}
Customizing Our Components
As you can see, every time we use this new view, it always displays the same text. However, this text could be a property defined by us, just like we saw in the article about objects.
import SwiftUI

struct MyText: View {

    let text: String

    var body: some View {
        Text(text)
            .font(.headline)
            .foregroundStyle(.white)
            .frame(width: 250, height: 50)
            .background(.green)
            .cornerRadius(20)
    }
}

#Preview {
    MyText(text: "Preview")
}
MyText(text: "My text")


Be the first to comment